Brakes are one of the most talked about and opinion-rich components in mountain biking, right behind frame designs and suspension kinematics. If you need proof, enjoy spending the next week reading our brake tech forum. But there are good reasons why we care so much about how we slow down—brakes dictate how fast and composed you can rip down a trail, and how you apply braking power directly influences your confidence and flow. Having tested tons of brakes over the years, we wanted to renew our impressions of a few staple stoppers alongside some popular aftermarket options. Most brakes do a good job of bringing you to a stop these days, but it's the subtle nuances in how they slow you down that make up the differences.
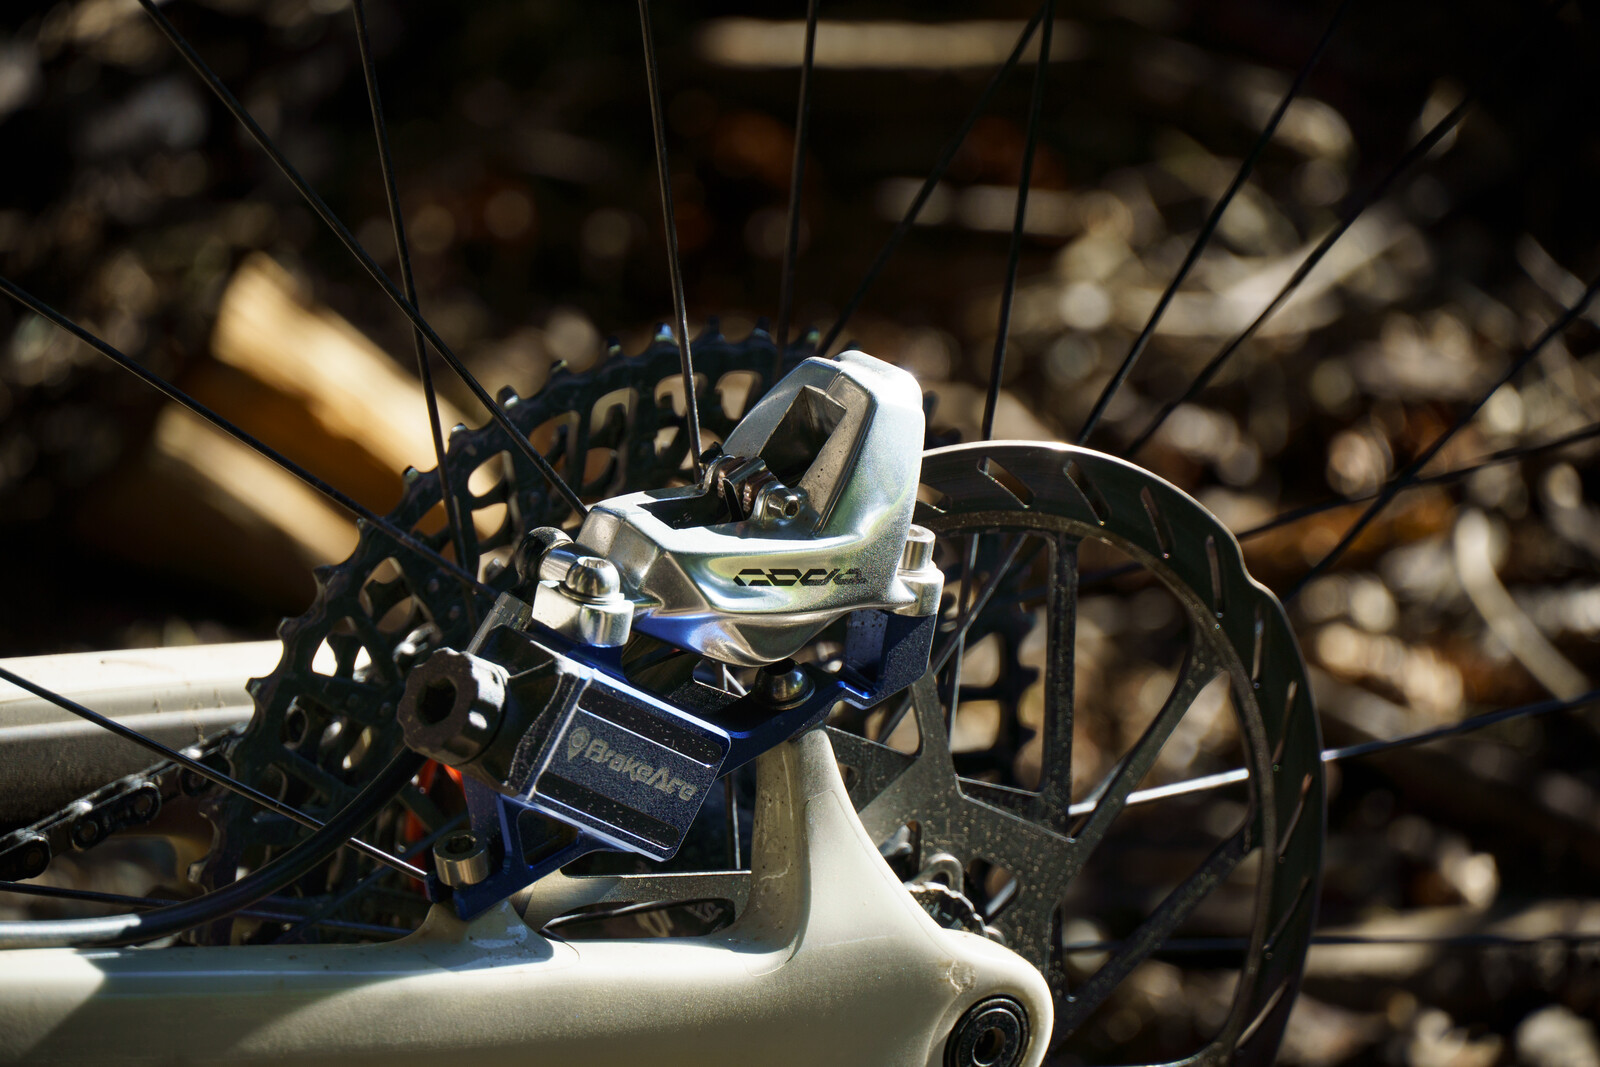
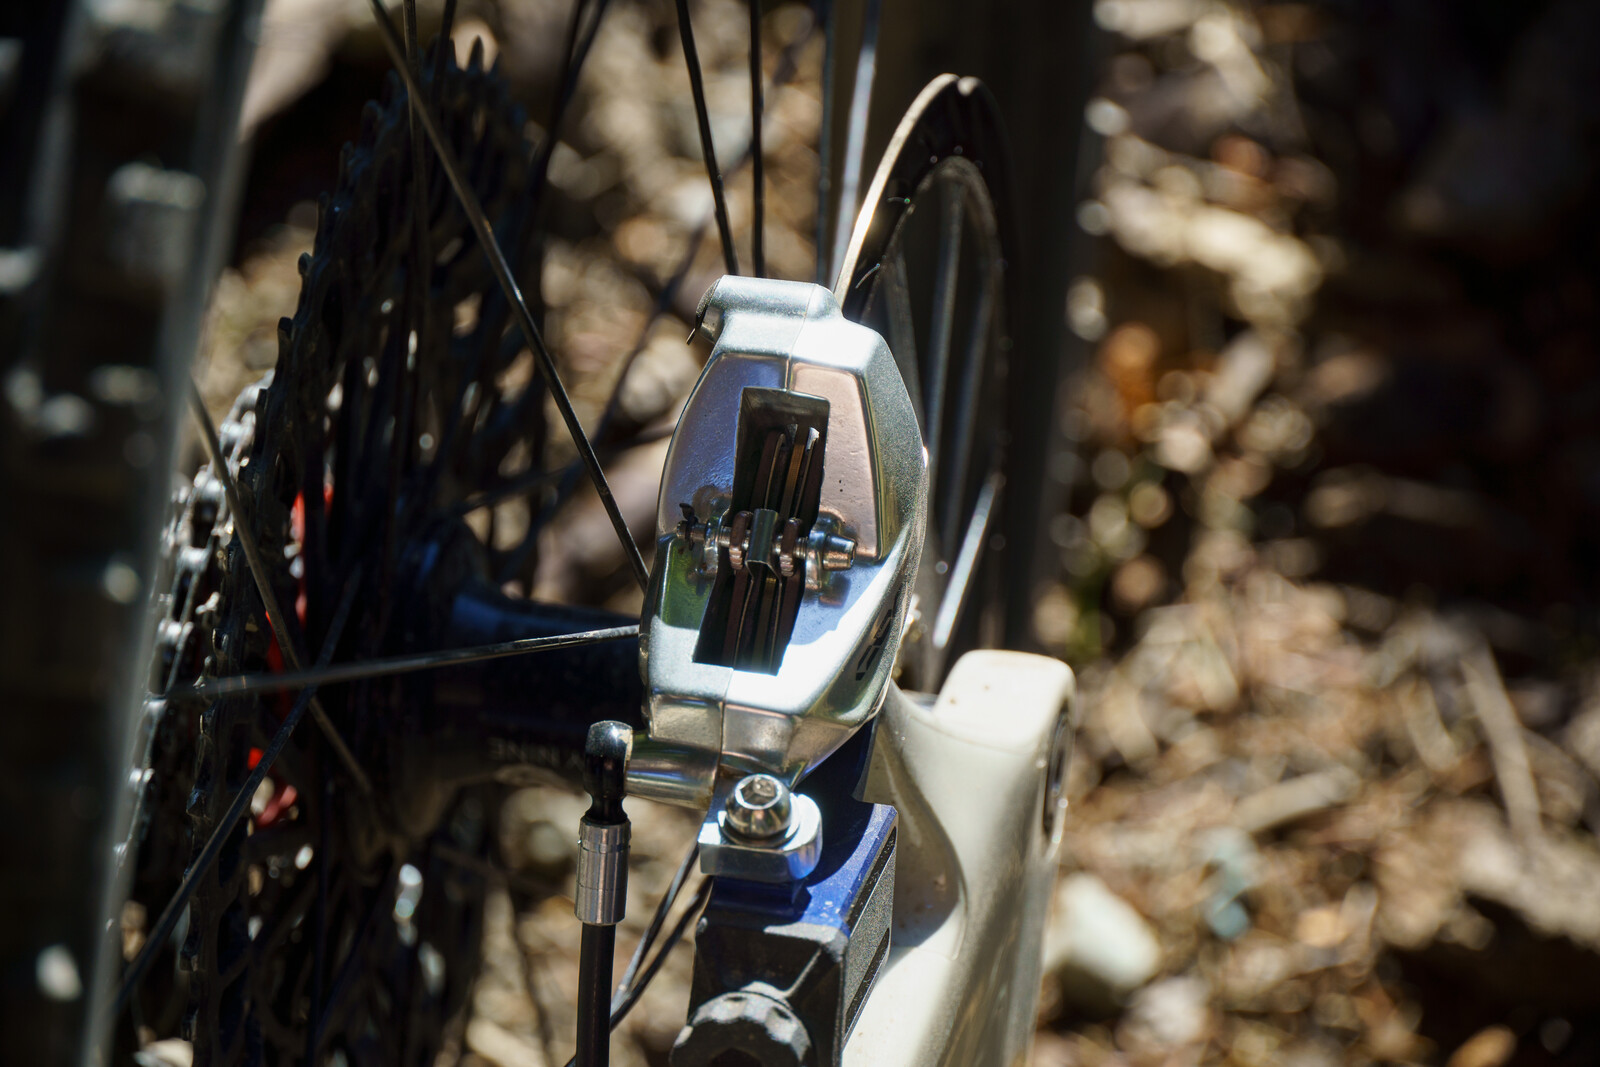
Equipped with six brakes, a bag of zip ties, stick-on cable guides, and some BrakeAce sensors, we headed to Whistler to see what we could derive about braking performance by combining on-trail impressions with cold hard data.
Table Of Contents
- Where, What and How we tested
- Brake critics
- Brake Data Analysis
- SRAM Code Ultimate Review
- SRAM Maven Ultimate Review
- Shimano XTR Review
- Shimano MT420 Review
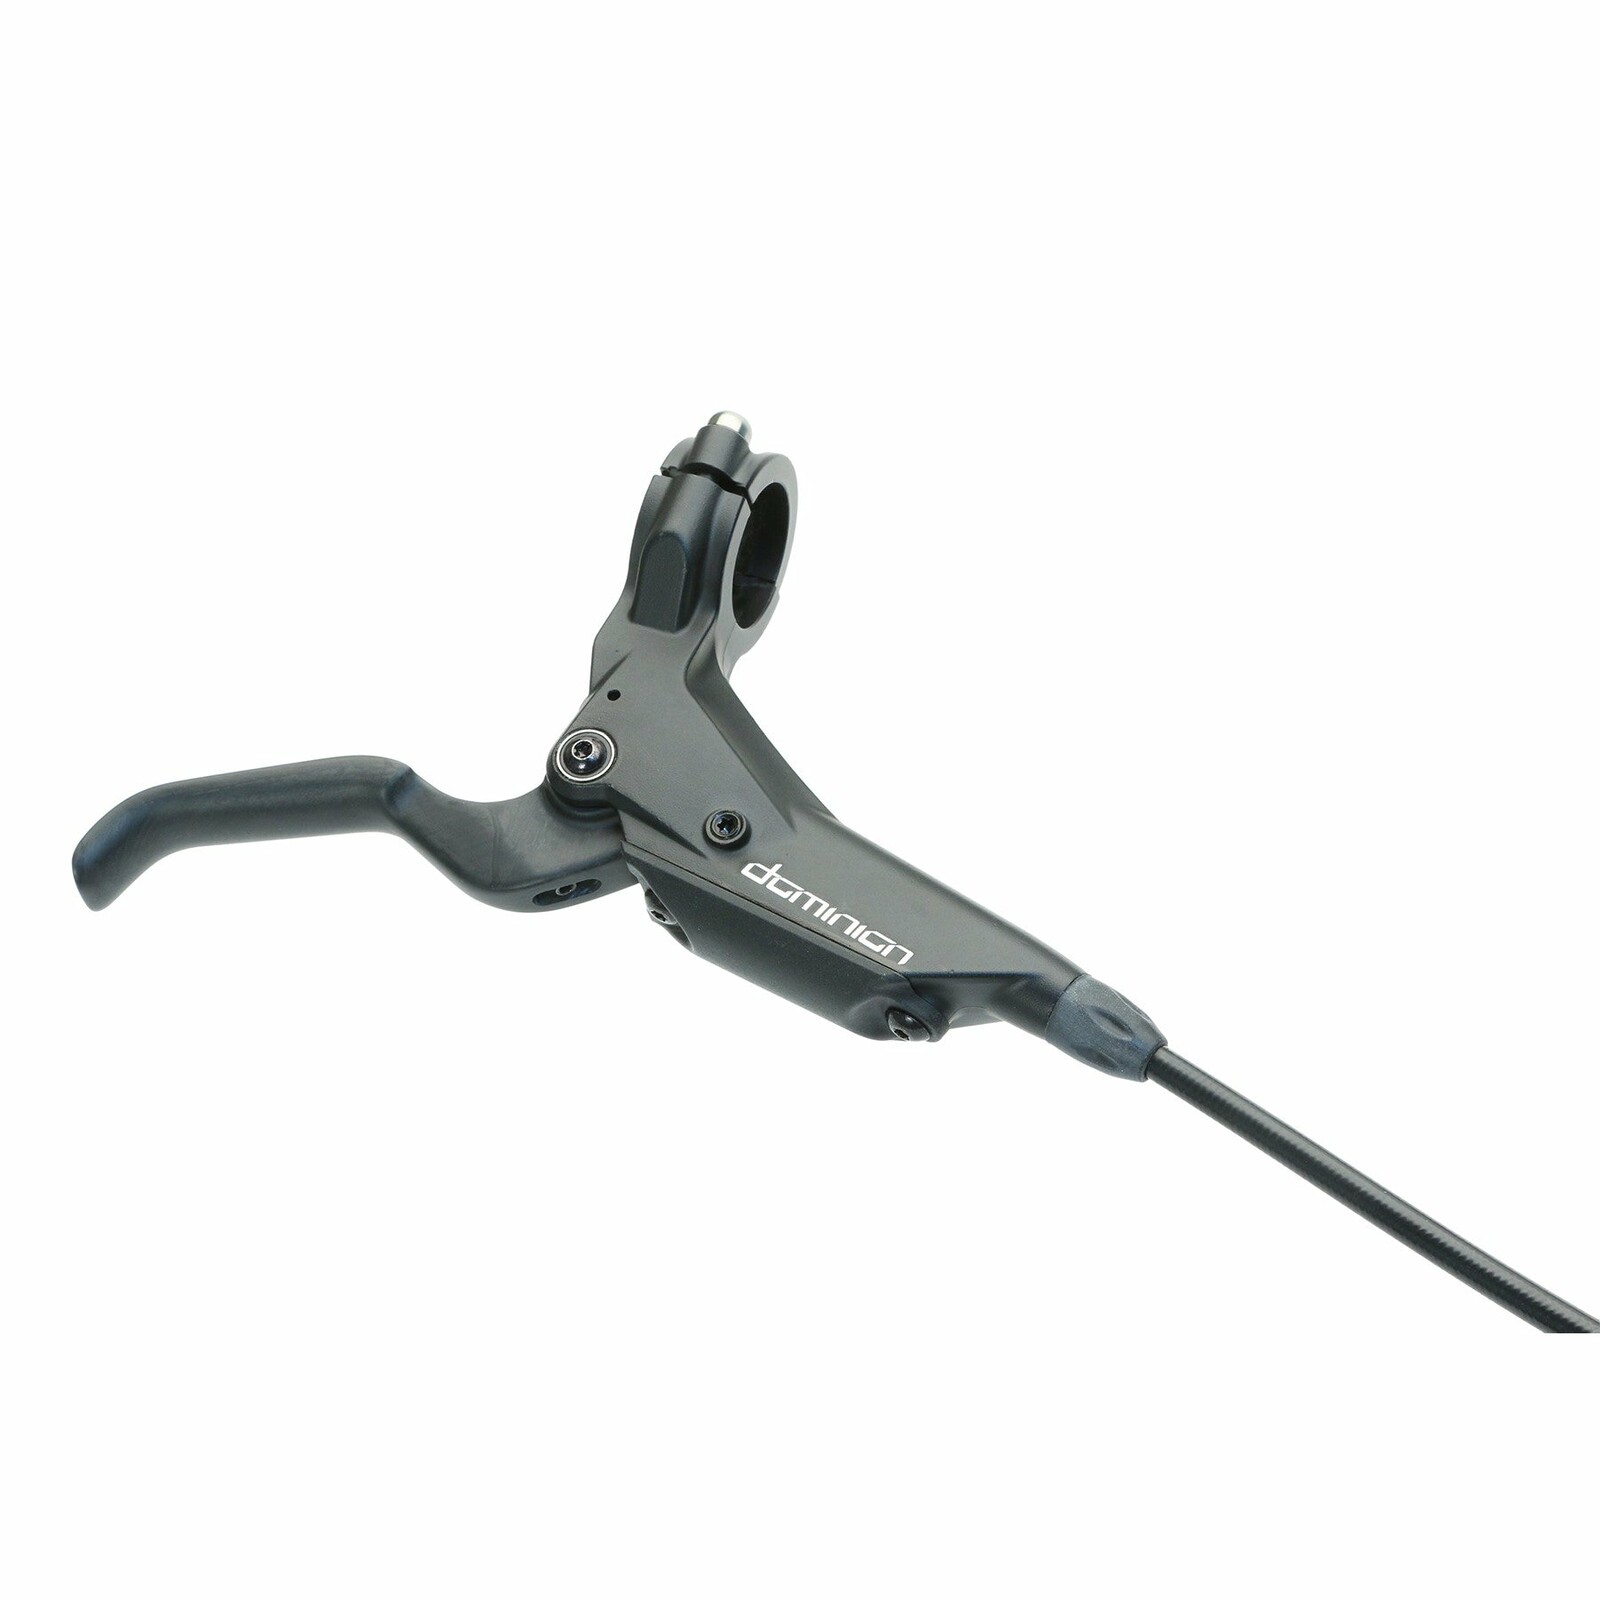
- Hayes Dominion T4 Review
- Magura MT7 Review
- Overall Scores
Who, Where, What, How: Test Details
The Where: You can't argue that Whistler delivers relentless terrain that will blow out your bike (or body) and fry your brakes. All you need is an afternoon and a healthy dose of Whismas stoke to be reminded that your hands are still soft and downhill bikes exist for a reason. From a testing perspective, the mix of trails and long runs expedites the process of snuffing out what works, what sucks, and when. As it pertains to brakes, dropping a few thousand feet obviously highlights factors like fade, lever feel, and consistency. But when you combine that with the techy slabs, roots, and varying soil conditions, your brakes need to deliver more than max stopping power to operate efficiently. Good brakes are a blend of performance factors, and Whistler does a good job of challenging each of them.

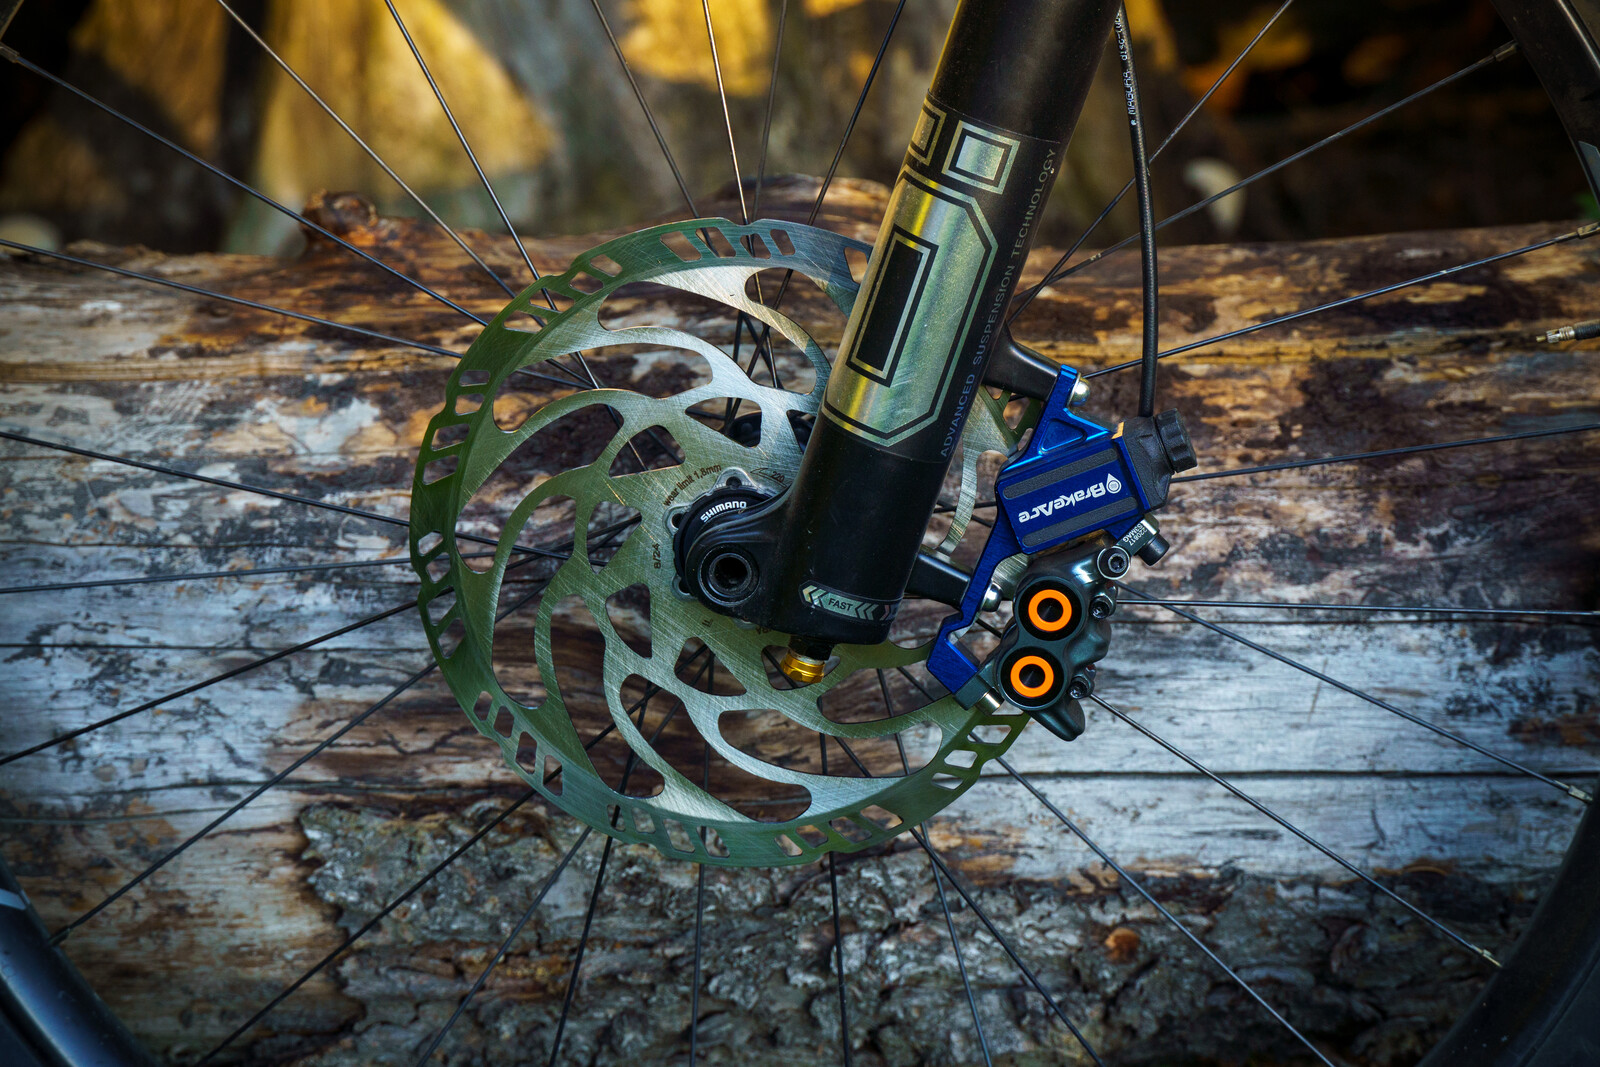
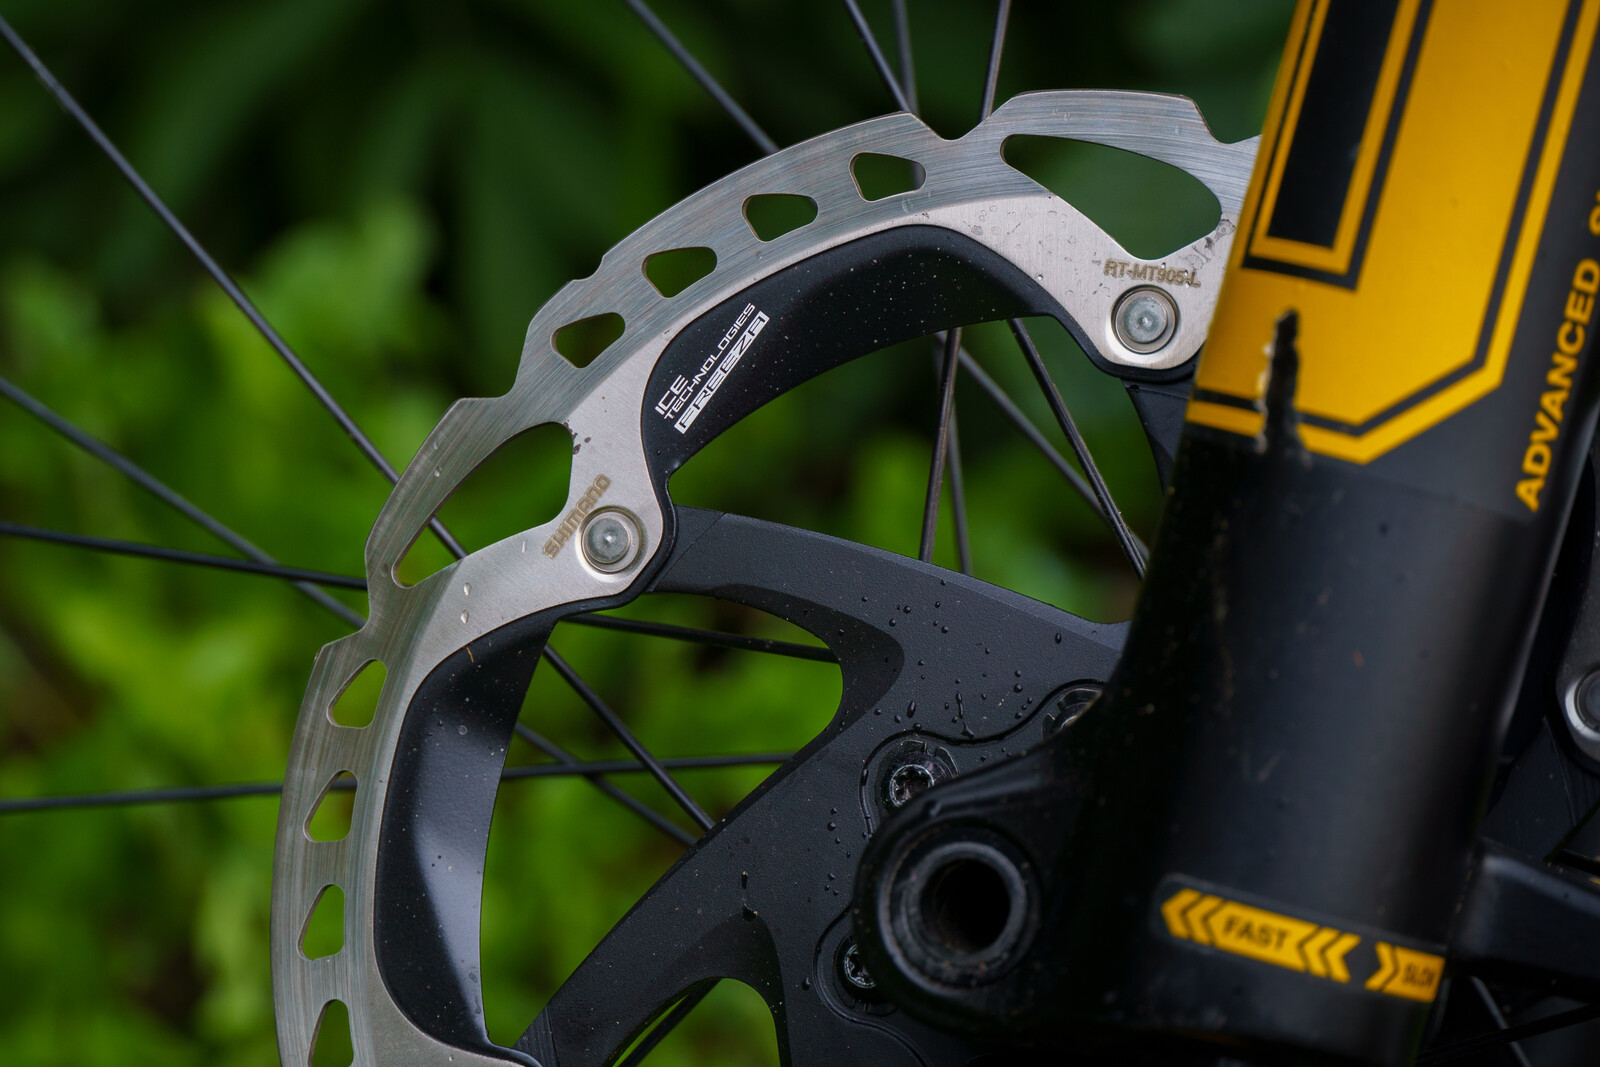
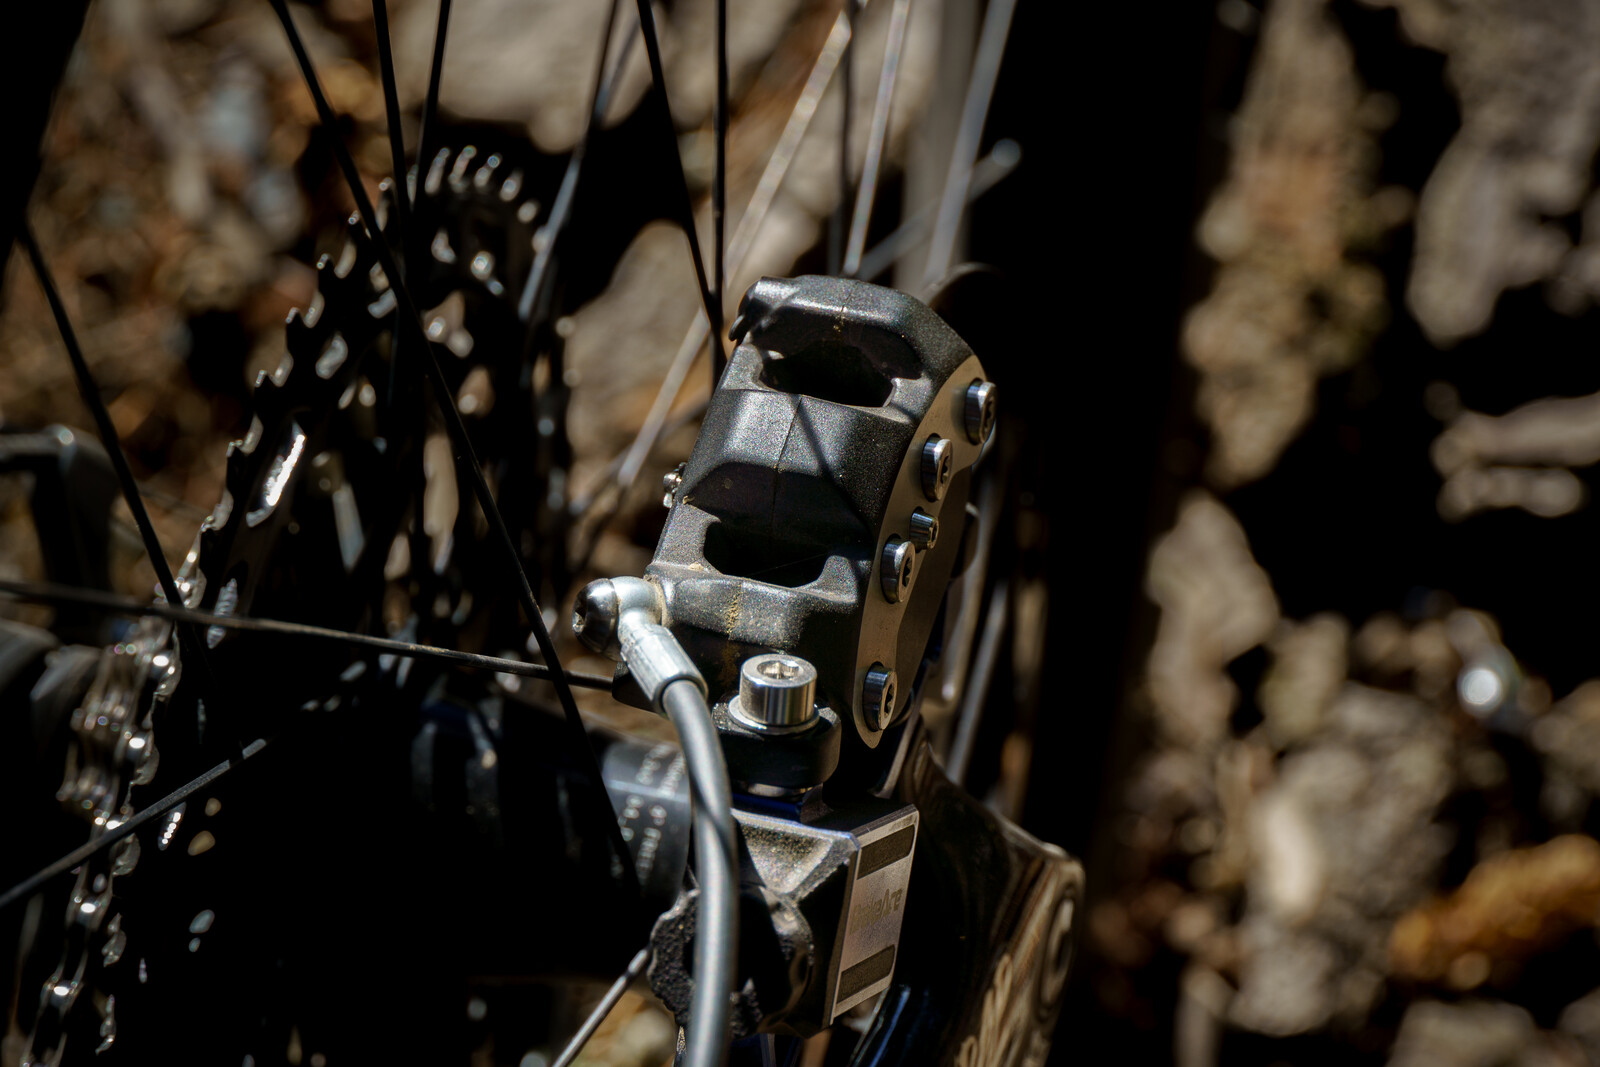
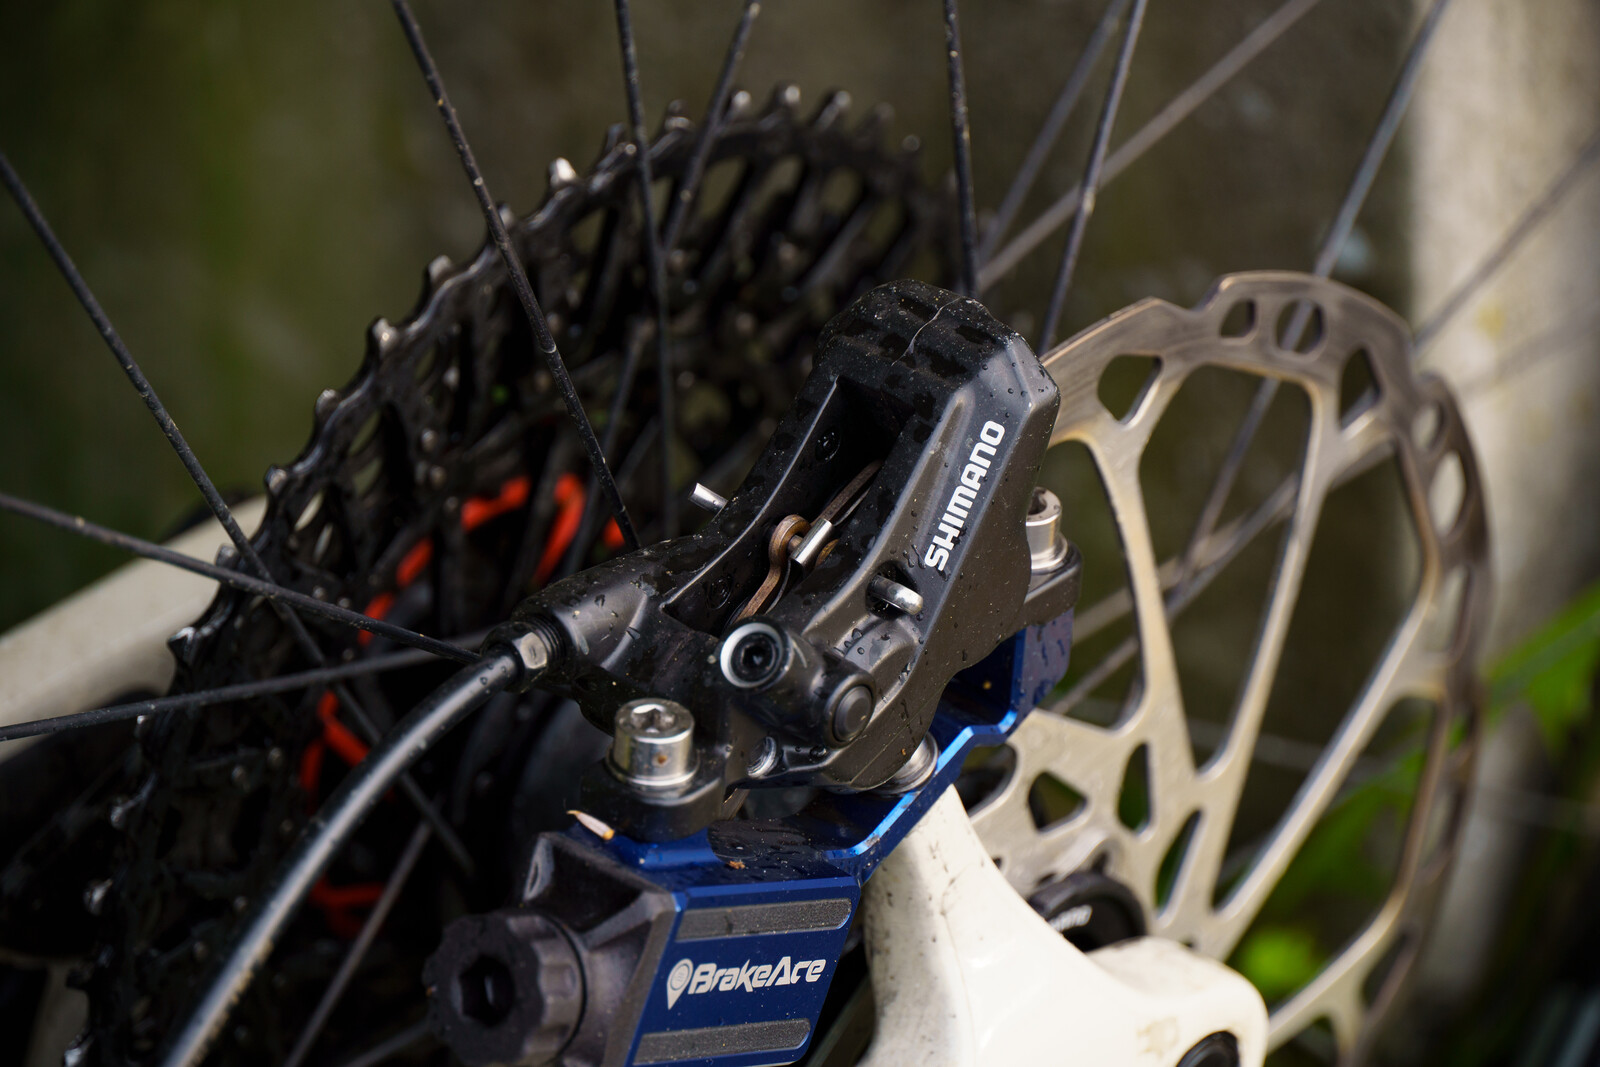
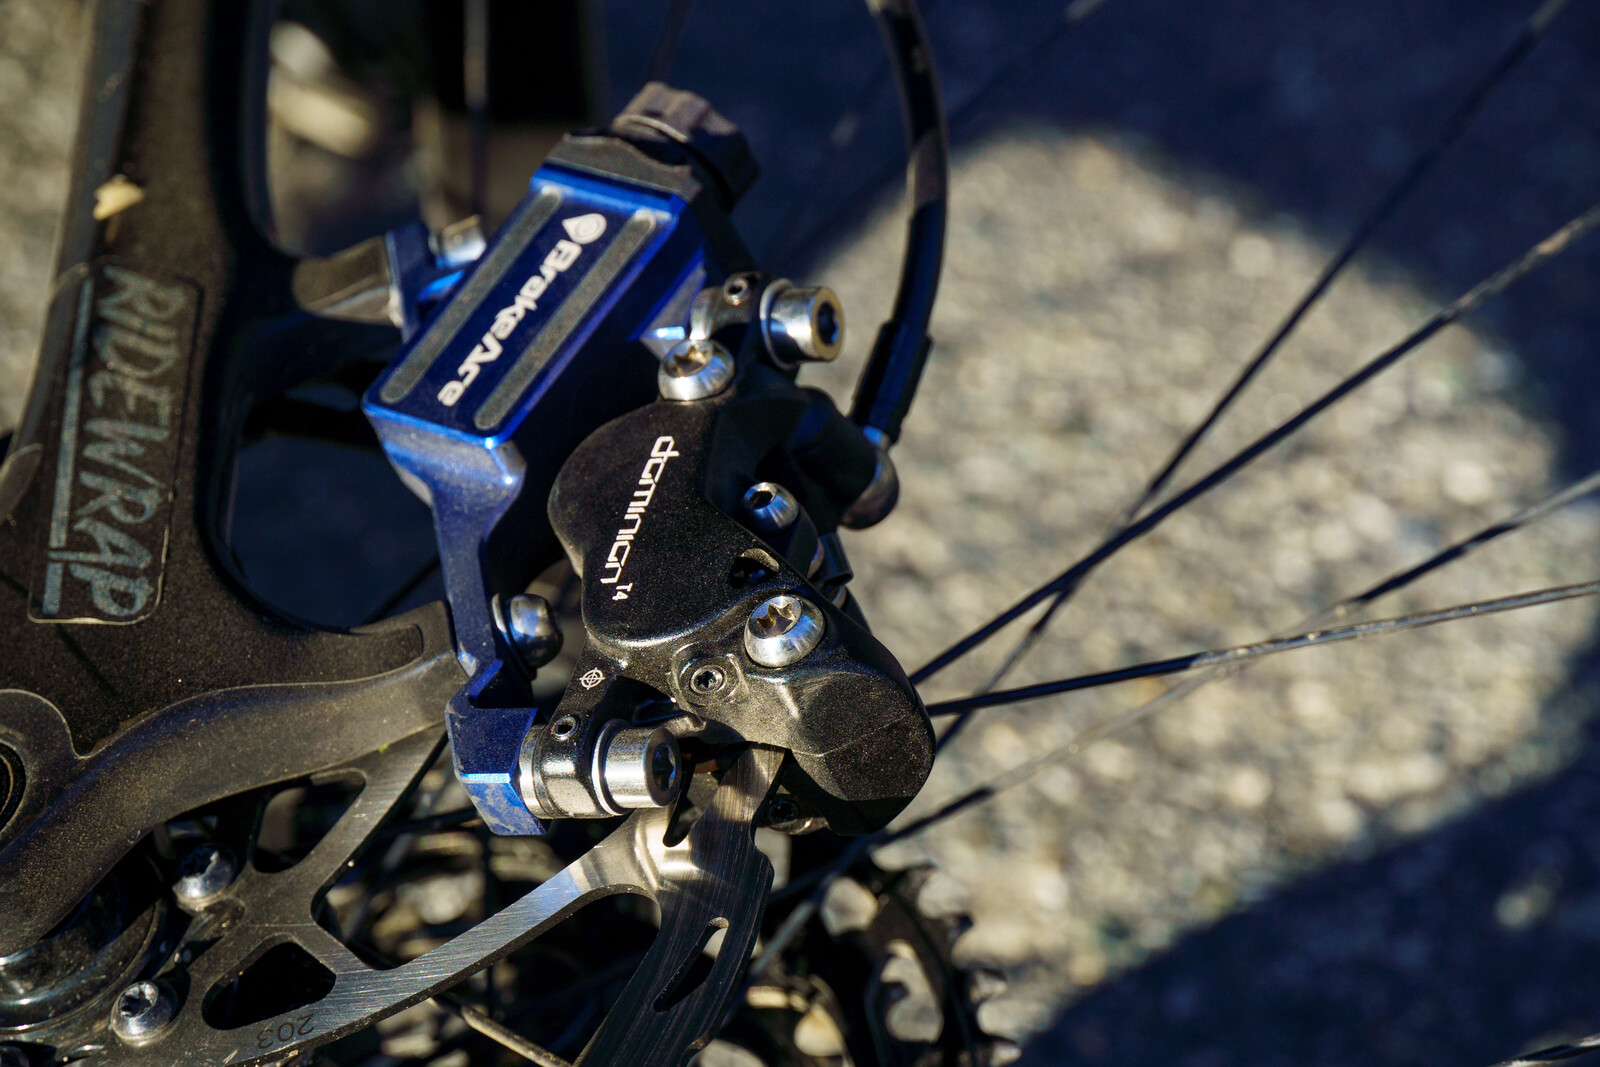
The What: Six brakes were on the chopping block for this test: two from SRAM, two from Shimano, one from Magura, and one from Hayes. All brakes were four-piston, gravity-oriented models, and all testing occurred with stock pads and brand-correct rotors. We also used the same rotor sizes with each brake (Jonny used 220mm F/R; Jason used 220mm front, 200 or 203mm rear). However, there was one exception—Shimano's fancier Ice Freeza rotors don't go up to 220mm. Thus, we tested their XTR brakes with 203mm rotors from and rear. As we'll detail below, we tested with BrakeAce sensors that replace your 20mm adapter. To collect data with the XTRs, we paired them with Shimano's cheaper RT66 rotors.

We intentionally included Shimano's entry-level MT420 brake to see if spending half the money on brakes results in half the braking performance. If nothing else, the thought of having to ride Whistler with a two-finger lever would guarantee some entertainment value. We also wanted to offer those who have cheaper brakes a direct comparison to the performance available with a higher-end option. It might seem obvious that spending more will equate to better braking, but where will you see those performance gains? Or better put, during what parts of a descent do you want to see those performance gains? Because not all brakes feel the same in hand. Finally, we tested the MT420 brakes with the Freeza rotors to see if rotors alone would improve brake performance.
SRAM's long-standing Code model was included as a baseline since it's been our favorite brake for many years. We figured that most riders are familiar with the feel of Codes and would find value in hearing how it compares to SRAM's big dawg brake, Maven (as well as the other brakes). We also wanted to see if Codes would remain our go-to for everyday riding or if testing them alongside other brakes would poke holes in their abilities.
"But why didn't you include brake X?"
Why are you so hard to satisfy? Is six brakes not enough? Look, we get it. There are a lot of good brakes out there. This test was less about declaring the best brake of the millennium, and more about uncovering braking trends and differences that you can't achieve with an individual brake test. We already have more brake tests in the pipeline, especially now that we are armed with data sensors. Until then, type away in our brake forum or check out some of our previous reviews: Hope Tech 4 E4, Trickstuff Direttissima, 2017 Brake Group Test, 2018 Brake Group Test.
The How: We broke down braking performance into five categories, with each brake receiving a score per category plus an overall score. Jonny also scored each brake's bleeding process since he handled setting them all up (legend!). Here is what we focused on during testing:
- Power - How well do the brakes bring you to a controlled stop? Focusing on max-power during steep sections, and useability of power through dynamic sections. What does the power curve look and feel like? Do the brakes allow for short, intense brake events, or do they promote long braking events to slow down?
- Modulation - How precisely can you control a brake's power once you're already on the brakes? Can you add more power or take some away without feeling like you are jumping from no brakes to all brakes?
- Consistency - Did the lever throw, modulation, and power remain the same throughout a run? Did the brakes fade as they heated up?
- Lever Feel - How easily can you control modulation and braking power at the lever? Do the levers cause arm pump or hand fatigue?
- Adjustments & Mounting Interface - Can you get the lever in a desired position with the right amount of throw? Is the mounting interface easy to use? How does the brake mount interact with dropper and shifter levers?
- Bleeding Process - How easy or difficult are the brakes to bleed? Is it a messy process? Does it take longer than it should? Are special techniques or tricks required to achieve a proper bleed, or can you simply follow the steps provided by the manufacturer?

Focusing on these factors helped organize our impressions and clearly illustrated where each brake was good or bad. We leaned on the info gathered from the BrakeAce sensors to corroborate our impressions and further understand why each brake feels the way they do on the trail. As mentioned, the sensors are built into a 20mm adaptor and connect to a smartphone via an App. No wires or data processing is required. The app (or desktop version) lays out all the metrics you'd ever want to know about how you're braking and where you can brake more efficiently to ride faster. It's a great way to burn hours nerding out over how you brake at every moment of a run.

We focused most on the time, power, and nature of brake events. We also pulled in temperature and brake bias to paint a complete picture of each brake's performance profile. Data was collected from a test lap made up of familiar trails that we could ride at a quick but consistent pace. We then honed in on specific sections to analyze and compare braking trends. It was really fascinating seeing how each brake promoted a different braking style and how our braking habits adapted to accommodate those differences.
The Who: Jason Schroeder & Jonny Simonetti
Braking By the Numbers
The individual reviews below combine rider impression and data analysis to provide a comprehensive bottom line. However, there are plenty of interesting trends derived from comparing the brakes as a group. Feel free to stare at these numbers as long as you want, and then scroll down to read what stood out to us after we stared at the numbers.
Upper A-Line
Jason Data

- 5/6 brakes produced the same 1.1 sec average event time. The smooth berms of A-Line allowed me to brake similarly each run, however the number of times I pulled the brakes varied to maintain a comfortable speed. The Dominions were the outlier at 1.3 sec, but they had the lowest # of brake events, resulting in less overall brake time.
- Opposite of Dominions, Codes had the most brake events but a shorter average event time, which yielded the longest total brake time and a slower overall run time. They also heated up the most.
- Shimano brakes were most even front vs. rear. The graph of braking events shows an even entry and drop of power front and rear.
- Maven, Dominion, MT7 - these brakes felt the strongest or grabbiest, and they were the most rear-biased through the bike park berms. Likely a subconscious effort on my part to not tuck the front wheel.
- MT7 braking events spiked less than Dominion and Maven, showing their subtle initial braking force.
- MT7 average power was low because I used only the rear brake most of the time. The same goes for Maven.
Jonny Data

- My fastest runs were on the Hayes Dominion and Magura MT7 which also carried the highest rear bias of the group throughout A Line
- There is an interesting correlation of perceived power and number of braking events; the brakes that felt the most powerful ended up with less braking events, yet the Shimano MT420 had the fewest events of all.
- When looking at the average duration of a braking event, the MT420s had the longest events which would explain fewer total events.
- The highest total braking time was shared by both Shimano brakes, while most braking events on A Line were more gradual feathering, this backed up the gradual delivery in power I felt from them.
- The stronger the brakes felt resulted in more rear biased braking, for the more gradual braking events the full stopping power of the front brake wasn’t needed in most instances, but where the power maybe felt like it was lacking a bit I would begin to reach for the front.
- Most front brake temps maxed out at exactly 28°C with the Maven and Code sitting around 30-33°C, unsurprising for such minimal use. Rear brakes ranged between 99-123°C with the Maven running the coolest and MT7 the hottest.
Samurai Pizza Cat
Jason Data

- Compared to A-Line, Codes show modulation in opposite fashion—fewer # of brake events, but longer time per event. Still equates to longer total braking time.
- The calm power delivery of XTR is shown via a high # of brake events combined with short per-event time and the lowest average power. This section is low-angle and fast, so having a brake that can scrub speed is better than having tons of power if the goal is to maintain speed and traction.
- Compared to XTR, MT420 promoted fewer but longer brake events that did result in less overall braking. They had a similar soft bite that allowed for feathering power. However, I did this with more front brake than XTR.
- Dominion's and Codes produced the most power. However, Codes didn't feel nearly as powerful as Dominions, as shown by the difference in average event time.
- Even with cheap rotors, XTR and MT420 brakes were running cool by the middle of my test lap.
- Mavens were very rear-biased. The front brake felt too grabby in the flat turns. For my size/braking style, the 220mm front rotor was ideal in this section.
- Maven's produced brake curves that spiked faster than other brakes. Power often spiked, then dropped, then rose again as I searched for exact braking power.
*During my Magura MT7 lap, I caught someone midway through Samurai Pizza Cat. In the moment, it didn't feel like it affected my braking very much. The data later showed that my speed was much lower, and I braked significantly more. Thus, no data for this section.
Jonny Data

- I went fastest on the Code and MT7 which both resulted in the least amount of braking time for this section. Both deliver power in a way that is very easy to control with little to no delay in delivery.
- I had the fewest number of braking events on the Maven but also the longest average duration braking event, I found it really interesting to see how things shook out. My fastest time was on the MT7 with the Maven only 1 second off but with double the number of braking events and event duration.
- With average speed still rather high in this section, I was unsurprised to see a heavy red bias still. The brakes that felt strongest trended towards a slight increase in front bias, while those with a more gradual delivery of power stayed at a higher percentage towards the rear.
- An interesting shift with temperatures occurred with max rear temps staying in a similar range from 92-134°C but with the Code running the coolest and the Maven dropping down to third. This is likely the result of the Code having the shortest total braking time.
- Another interesting stat shows the MT420 and the Maven as the most evenly bias brakes in the group, the MT420 tied with the MT7 for the highest number of braking events and duration of each event. This is consistent with the feeling of needing to use both brakes more frequently when riding the MT420 as they didn’t provide the strongest feeling of stopping power.
Polp Fiction
Jason Data

- SRAM brakes promoted frequent braking but for shorter periods. However, this didn't result in equal total braking time, with Mavens requiring the least braking time and Codes the most.
- Mavens had the lowest overall brake time due to low average event time. Maven brake events were also aggressive, reaching peak power quickly.
- Surprisingly, MT420s ran the coolest. However, they generated the lowest power, which helps answer why they were the worst in the steeps.
- Maven, Dominion, and MT7—the three most powerful feeling brakes had the shortest total braking times. They each achieved this in different ways. The MT7 favored long, modulated brake events. Not as grabby, but fewer total brake events. Maven was at the other end of the spectrum: more brake events, less time per event. Dominions were in the middle. All three were rear-biased.
- XTRs promote even braking front vs. rear in the steeps to slow down. Braking events show a slower, less aggressive entry of power that would flutter before dropping.
- Codes again had the longest total brake time and highest average temperature.
- Between Code and XTR, modulation was high, and brake bias was very even. The difference is I modulated with Codes by completely letting off the brakes, while XTRs favored remaining on the brakes and connecting brake events.
- XTR and MT7 - longest brake events, but least # of brake events at 5. Both brakes had the most subtle or gradual power profile, requiring pulling harder to receive more power. Not as touchy.
Afternoon Delight
Jonny Data

- This was the section of trail I chose to analyze all-out stopping power and while it’s difficult to display with data, I’ll say that the Magura’s stood out in this section as the most consistent feeling lever. Relaying that with data shows the MT7 landing pretty much dead in the middle of every category.
- The brakes which felt more powerful showed a shift in bias towards the front and showed the shortest average event time.
- The Maven ran the coolest yet again despite the longest duration, highest number of brake events, and longest total braking time. Pretty impressive how much the larger calipers do for cooling.
- MT420s scored with the lowest average power which felt consistent, seeing the Maven slot directly below certainly doesn’t add up with how they felt on trail. This serves as a great example displaying how the difference between heat dissipation and peak braking force can be misconstrued between the feeling on trail and the data.
- The Dominions felt like they had excellent power, and data reflects that but also reveals less effective heat dissipation.
SRAM Code Ultimate Review
SRAM's Code brake was originally designed for the most heavy-duty braking needs as the most powerful brake in their lineup. While the newer Stealth variant looks slightly different, the features remain the same. The lever assembly utilizes a bearing for the lever to pivot around, a Swing Link inside to minimize the force needed to generate power, and a MatchMaker X clamping interface for seamless control integration. Inside the master cylinder is an expandable bladder that helps regulate and reduce air bubbles, pushing fluid where needed and removing air from the system to produce consistent braking performance.
Adjustments at the lever include a lever reach adjustment with detent clicks, while the pad contact adjustment advances or retracts the piston within the master cylinder for a personalized bite point. At the caliper, SRAM's Bleeding Edge interface makes setup and maintenance a breeze while preventing fluid loss when bleeding the system. Our brakes shipped with HS2 2.0mm thick rotors, which are meant to significantly enhance the bite point of Codes and provide the most rigid clamping surface.
Bleed Procedure
Bleeding the Codes was straightforward, thanks to the hardware SRAM uses across their entire line of brakes and the Bleeding Edge caliper interface. The hose barb threads into the inner hose sleeve and has a raised portion for the olive to reverse thread onto, ensuring the best chance of an airtight setup. Moving onto the bleeding process—I attached a syringe with some DOT fluid to the lever and pulled back to release any trapped air. Then, I turned the pad contact adjustment to the fully open or "IN" position to expand the volume of the master cylinder. Next, I pulled the lever to the fully depressed position to isolate the master cylinder and began pulling a vacuum on the plunger of the syringe. I then pressurized the syringe until I felt pressure against the lever and allowed it to swing back into its fully extended position. This required maybe five to ten cycles before I no longer saw any air bubbles making their way out of the lever. I then capped the bleed port, and the process was finished. While it wasn't necessary to put a second syringe on the caliper, procedures where it is required are made much simpler thanks to the Bleeding Edge interface. This interface uses a 4mm allen to open, has a recess for the o-ring on the syringe, and ensures a drip-free and airtight bleeding process. To finalize the setup, I centered the caliper and hydraulically centered the pads to ensure that the pistons were moving an equal distance and that no flex was occurring at the rotor.

Jason's Bottom Line
| Strengths | Weaknesses |
|
|
I came into this test wondering if Codes would remain my fave all-time brake. My conclusion? They're still a class favorite, highlighted by excellent modulation and a wide range of useable power. You tack on how neat the MatchMaker interface makes your cockpit, the tool-free adjustments, and the ease at which you can find pads/spare parts and bleed the system, and I think Codes are an excellent choice for most riders. Where Codes have fallen behind compared to the competition is max stopping power. Compared to the Mavens, Dominions, and MT7s, they did not have as strong or immediate power delivery. They'll still slow you down, but they don't get the job done as quickly in steep or critical braking moments. The data backed this up, with the Codes requiring more brake events in and total brake time than the rest of the brakes. Down Pulp Fiction, even though they generated the highest average power, that's balanced with the fact that I was on the brakes longer. I was also nearly 50/50 front vs. rear, meaning I relied on a combined stopping power to remain in control. They also heated up a lot, with peak temps during testing the highest in every section. This caused a fade in bite and stopping power further into descents. Luckily, lever feel/throw remained consistent despite power fading.
I still plan to run Codes, but I don't think they're the best brake out there anymore. They are an easy brake to ride as the power is very controllable, instilling confidence in tricky conditions. However, their ability to slow you down in a controlled manner makes them slow. That's not always a bad thing, but compared to the other brakes tested, they are simply not as efficient. If your bike came stock with Codes, they aren't going to hold you back. The exception is if you ride long, steep trails or are a novice rider dragging your brakes—you would fare better with a brake that runs cooler. Personally, I'm going to stick with the Code Silver model for trail and enduro bikes. It has the same features/performance as the Ultimate but uses an aluminum lever and is ~$90 cheaper.
Jonny's Bottom Line
| Strengths | Weaknesses |
|
|
I hadn't ridden Codes on my bike for most of the year leading up to the test and wondered if they'd feel weak compared to the Mavens I've grown accustomed to. Setting the brake sup on my bike reminded me just how much I like the lever feel of the Codes; the lighter lever pull, super firm bite point, and minimal flex at full compression create exactly the kind of brake I want on a bike. As for the power they provide, I found myself pulling the lever harder to get the all-out stopping power. However, it was less drastic of a shift from the Mavens than I'd anticipated. Where the stopping power was reduced, the precise modulation of the brake was more pronounced. I anticipated the brakes to fade more as they required longer braking events on average, and that certainly showed through on our upper Garbanzo laps in a few instances. Things like the tool-free lever and pad contact adjustments help dial in the characteristics of the brake to individual users' presences and keep them consistent over the life of a set of pads. Overall, the test reminded me how much I enjoy the lever feel and modulation of Codes and the useful adjustments they provide.
Shimano XTR M9120 Review
The M9120 is Shimano's first-ever 4-piston brake to wear the XTR logo and carries the tradition of lightweight construction paired with top-of-the-line performance. Shimano set out to create a brake with better modulation and increased power than the previous generation XTR brakes while simultaneously maintaining the lowest possible weight and premium cooling technologies. Starting with the lever design, the servo wave inside the lever assembly helps reduce the on/off feeling of past Shimano brakes. Instead, the lever subtly ramps power up and continues well past the bite point to provide stopping power on par with the World Cup-focused Saint brakes of years past.
Shimano's ICE Tech cooling technology is featured within the rotor and pad interface with finned pads to capture air circulating the caliper. Shimano's Freeza rotors utilize an aluminum inner construction sandwiched between two layers of steel outer material centered around a magnesium carrier to strategically dissipate heat through the properties of each material. Shimano is so confident in its cooling technology that a 220mm is not available at the flagship level. Our brakes shipped with a set of RT-MT905 6-bolt rotors and their newest RT-CL900 rotors, which are said to minimize heat deformation significantly compared to the previous generation centerlock rotor.
Bleed Procedure
The Shimano bleed procedure is rather straightforward. A hose slips onto the caliper bleed port and is opened via a 7mm open-end wrench while a cup at the master cylinder is used to drain fluid and escape air from the system. Our test brakes came to setup and only required hose trimming and a cup bleed to install. I used my usual trick of removing the pad spacer and cycling the lever one full throw before cutting the hose and reattaching it to the lever. This helps force any air out of the system once the bleeding cup is installed on the master cylinder by pushing fluid straight out of the lever when the pad spacer is put back into place and shortens the lever throw in general for a nice crisp feeling right off the bat. This was one of the easiest setup procedures in the group. However, a full bleed or removing air from the caliper can be tedious in my experience compared to systems with more secure syringe interfaces.

Jason's Bottom Line
| Strengths | Weaknesses |
|
|
The XTRs were an impressive brake all around, highlighted by how linear the power builds as you move through the lever stroke.There is plenty of lever squish available past the bite point, and the distance your finger has to travel to engage the brakes is small. Because you have such a wide range of power that you can explore with different applied forces at the lever, finding the exact amount of necessary braking was easy. This made riding slippery roots less death-defying and kept me from breaking traction on gravely hardpack.
I opened the video saying Shimano brakes have an on/off quality. I realized during testing that is an attribute I associate more with XT brakes. The ease at which I could apply and fluctuate power with the XTRs did not give them the same on/off feeling. However, my data tells a slightly different story, as they had the shortest average brake event time, the second highest number of brake events, and were very even rear vs. front (57% rear, 43% front). Even though I was braking often and quickly, the calm initial bike and steady ramp in power made the XTRs feel controlled. The Mavens display a similar 'on/off' braking trend on paper. However, the difference on trail was the power came on all at once, and my short braking events felt intense and inconsistent. I would grab the brakes, often receive too much power, and then either stop braking or back off to a desired power amount.
My main gripe with the XTRs, which kept them from being my favorite, was that they lacked peak stopping power under heavy braking. The Maven, MT7, and Dominion all outperformed the XTR when slowing down fast in a short distance. The power builds throughout the lever throw such that it can begin to feel like you have to really squeeze the brakes to shut it down. My only other issue with the XTRs was the lever flex past the bite point was on the tighter side. I loved the lever feel 95% of the time, but towards the end of runs, I experienced minor hand fatigue. It wasn't massive, but it's why the XTRs scored lower than the Codes for lever feel.
Final note: Similar to the MT420 with the IceTech rotors, gathering data with the XTRs and cheap RT66 rotors yielded minimal subjective differences. I think the longer and steeper the trail, the more separation I would feel in power and fade as things heat up. Still, it was impressive to see how cool the XTRs remained even without IceTech rotors. Those noisy pad fins must do something after all.
Jonny's Bottom Line
| Strengths | Weaknesses |
|
|
I've spent an almost equal amount of time this year riding XTR brakes on test bikes as I have riding the brakes on my own bike. In my time on them, I've noticed that hand fatigue is the one thing that is reduced considerably, primarily down to the feeling of the lever. The way these brakes roll-on power is quite subtle but can reach a very high level without taking as big of a toll on grip strength. I noticed the lever has a fair amount of give or squish past the bite point, which contributes to the excellent modulation these brakes provide and what I felt was a more vague delivery of power. Where the lever stops on other brakes equates to locking up the rear wheel, I felt the additional movement made it challenging to dictate when that would happen. The overall power felt like it was lacking a bit in instances where I needed to slow down in a hurry. While the wheel could still lock up, I felt it was more difficult to achieve in the higher momentum circumstances where I wanted to drop the anchor. That being said, while the power felt arguably lower, fade never contributed to any additional loss of power. I really liked the shape of the lever on these, and the overall feeling was that it was very easy to ride all day and control.
SRAM Maven Ultimate Review
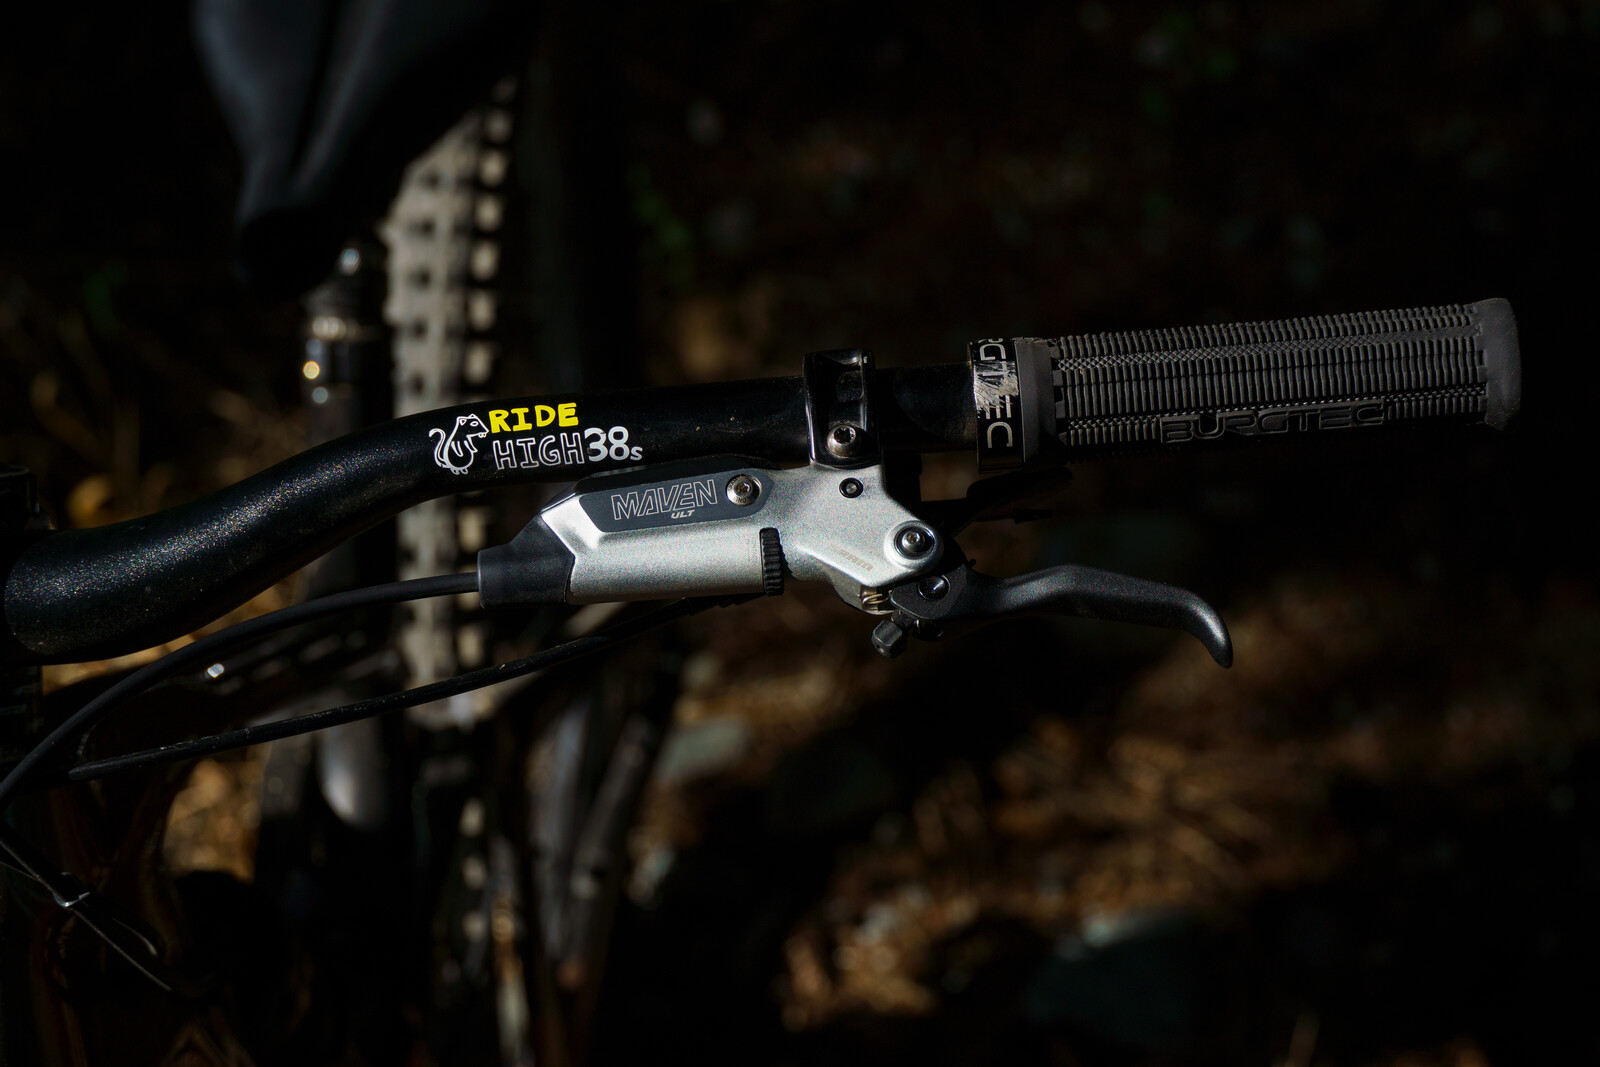
Designed to take over the reigns as the strongest brake SRAM offers, the Maven may have simultaneously taken the title of strongest brake ever. Being the second brake in the SRAM lineup to use mineral oil, the motivation to go with a new fluid was for the compatibility of better seal technology that provides better rollback (piston return) qualities while allowing fluid to displace more easily. The massive master cylinder and lever assembly are responsible for that fluid displacement, and the result is an incredible level of power that requires little movement of the hand to access. At the caliper, a two-step seal is found behind each piston, which unravels more similarly to the sealing interface found in most automobile applications. The switch to these seals paired with larger bores within the caliper body helps generate around 50% more power than Code brakes, with 30% less force required to pull the lever.
The lever has all of the same features as the Code, like a main pivot bearing for the lever and a secondary Swing Link inside to ramp up leverage through the lever throw. Inside the master cylinder is an expandable bladder that helps regulate and reduce air bubbles, pushing fluid where needed and removing air from the system to ensure consistent braking performance. Adjustments at the lever include a lever reach adjustment with detent clicks, while the pad contact adjustment advances or retracts the piston within the master cylinder for a personalized bite point. Our brakes shipped with HS2 2.0mm thick rotors, but Centerline rotors can also be used to de-tune the bite point.
Bleed Procedure
Bleeding the Mavens uses the same process as the Codes, the primary differences are the use of Mineral Oil instead of DOT Fluid and an additional setup step to help get the pistons moving properly. The hardware is the same, with the hose barb threading into the inner hose sleeve and an olive that reverses threads onto the barb for an airtight seal. Moving onto the bleeding process—I attached a syringe with Mineral fluid to the lever and pulled back to release any trapped air, then turned the pad contact adjustment to the fully open or "IN" position to fully expand the volume of the master cylinder. Next, I pulled the lever to the fully depressed position to isolate the master cylinder and began pulling a vacuum on the plunger of the syringe. I then pressurized the syringe until I felt pressure against the brake lever and allowed it to swing back into its fully extended position using the pressure from the syringe. This required maybe five to ten cycles before I no longer saw any air bubbles making their way out of the lever. I then was able to cap the bleed port and the process was finished. While it wasn't necessary to put a second syringe on the caliper, just like the Codes, procedures where it is required are made much simpler thanks to the Bleeding Edge interface. To finalize the setup, SRAM recommends a "piston massage," which involves cycling all four pistons in and out a few times before installing the pads and rotor. To complete this step, I slotted two HS2 rotors into the caliper with the pads removed and cycled the lever until the pistons clamped the rotors evenly. I then pushed the pistons back into the fully open position using a plastic tire lever. After a few cycles of this process, the lever feeling lightened up a bit, and the return speed of the pistons got a touch quicker. I then reinstalled the pads and wheel.

Jason's Bottom Line
| Strengths | Weaknesses |
|
|
I spent most of the year riding Mavens, including a week in Whistler during Crankworx. Jumping back on SRAM's big dawg stoppers immediately after testing Codes highlighted the adjustment period Mavens require to acclimate to their aggressive ramp in power. When you need to brake late and hard, the Mavens are insane.
Interestingly, they didn't produce the highest average power in any section. What's more important to note is that the rate at which Mavens reach their peak power is really quick. This allows for less overall braking time because you can brake for shorter periods. It also means that the brakes don't fade. I experienced a consistent bite/lever feel late into runs that helped me avoid over-braking. With that said, across the multiple sets of Mavens I've ridden this year, they've all periodically produced a wondering bite point while braking through compressions. Usually, the lever pulsates outward (less throw) and returns to its normal bite point once you fully let off the brakes. I never had it happen with this set of Mavens (thanks to Jonny's bleeding skills), but with other sets, extensively massaging the pistons has helped reduce or eliminate the issue. For a premium set of brakes, it is definitely annoying that they don't just work right out of the box.
There was a lot of discussion about the lever breakaway force when Mavens launched. The lever is undeniably tighter/harder to pull initially. I don't find this causes hand fatigue but rather makes it difficult to apply the desired amount of braking force. Once you're on the brakes, the lever has a similar squish to Codes. My braking events with Mavens would spike more often than not, where Codes would rise and fall more evenly. I found myself grabbing the brakes, receiving too much power, and then letting off the brakes to arrive at the correct amount of power. This braking characteristic was the worst through loose over hardpack or wet roots, where locking up the wheels was most consequential. I was also the most rear-biased with the Mavens in an effort to avoid tucking the front.
I've ridden Mavens most of the year, so clearly, I've been able to make them work. However, this test highlighted how much I've adjusted my braking habits to ride them. As someone who values modulation to maintain a desired trail speed and flow more than all-out stopping power, I struggled to brake how I wanted with the Mavens. I still see a value in riding the brakes on a full-size e-bike, or a downhill bike, or if I ever visit Morzine. Otherwise, plenty of other brakes give me enough power to slow down at an acceptable rate, matched with a calmer power delivery and a wider range of useable power.
Jonny's Bottom Line
| Strengths | Weaknesses |
|
|
Mavens are the brakes I've ridden most this year, and while I've grown accustomed to the power and modulation, this test served as a reset for me. The intensity of the initial bite became apparent once again and certainly felt a bit overwhelming after riding the rest of the brakes in the test and gave me an idea of what too much power can feel like. It's not to say I don't appreciate the additional power of them, but it made riding technical stuff in the wet a bit more challenging. After an adjustment period, this was not an issue, and I could calibrate my input force to better match their power. Modulation was good but certainly more challenging to control than some of the other brakes that are more gradual to provide power. Even in instances where I had longer braking events, fade never came into play with the Mavens. I always felt like there was a wall of power on tap. Like the rest of the SRAM brake lineup, the tool-free lever and pad contact adjustments help dial in the characteristics of the brake to individual users' presences and keep them consistent over the life of a set of pads.
Shimano MT420 Review
Shimano's MT420 brake represents the culmination of trickle-down technology from their premium models. The brake set combines the BL-MT401 lever and MT420 caliper to form the base-level brake below Deore. The lever has only Shimano branding on it, a tooled lever reach adjustment, a single pivot lever, and the same hinged style bar mounting interface with I-Spec EV integration found across the Shimano lineup. The caliper is equally subtle and shares faint architectural similarities with the rest of Shimano's 4-piston caliper lineup. The most distinct differences include the absence of a banjo mounting interface at the caliper and the lack of a pad retention screw; instead, a second needle and olive are used to mount the hose directly into the caliper, and the pads are held in place with a cotter pin. The only thing these brakes share with the XTR brakes is the brake hose material and mineral oil.
Bleeding Procedure
The bleed process is the same as any other Shimano brake, with the only difference being the method of opening the caliper bleed port requiring a 3mm allen instead of the usual 7mm open-end wrench. The usual trick of giving the lever a pull without a pad spacer in place prior to bleeding advanced the pads much further than usual, so I opted to reset the pad position and bleed without this step. Without any special tricks or repetitive back and forth of fluid, these were the easiest brakes in the group to bleed, requiring only a few cycles of the lever with a cup installed.

Jason's Bottom Line
| Strengths | Weaknesses |
|
|
As expected, the MT420s offered the lowest overall braking experience compared to the other brakes. However, some praise is warranted, considering I survived plenty of Whistler gnar with them (including a lap down Goats Gully). If we are just analyzing the ability to slow down throughout a run, the brakes get the job done. They were not super grabby, so I did have to squeeze pretty hard to stay in control. The lever was also super light off the top, and minimal power was introduced during the initial lever stroke. Once the bite point was met, there was little lever flex or modulation available.
Since I didn't have the luxury to modulate or brake precisely with my front and rear, I was left employing an 'all hands on deck' approach to slow down. Or at least that's how it felt. The data showed a more typical 60% rear and 40% front brake bias, on par with the other brakes. The combination of decent by not great power with a crude lever feel created a small window of useable power. It also forced me to brake more. You can see this most clearly in the Pulp Fiction data, as the MT420 had long brake events, the second-highest total brake time, and the lowest average power. Lots of braking but not much power equals over-braking, fade, and arm pump.

In an insane turn of events, I realized post-test while compiling data that the MT420s were the coolest brakes. I think this helps explain why the brakes lacked a strong bite point: the rotors and pads weren't at a high enough operating temperature. And since they weren't biting very hard, I dragged the brakes more, causing the rotors to glaze slightly, further diminishing their initial bite. It still boggles my mind since I tested with a 220mm front and 203mm rear rotor with stock metallic pads...
If you want a cheap 4-piston brake to hit the trails and aren't particular about modulation or don't plan to frequent steep, long descents, the MT420s are solid. For most riders, I'd say go spend the few extra bucks and get Deore or SLX brakes. Both are cheap and offer better modulation and a refined lever, giving you a wider range of usable power. I did a few runs with the fancy Ice Freeza rotors and didn't notice a tangible difference in power, bite, or fade (I couldn't log data due to rotor spacing, but I'm super curious how the max temperatures compare). The cheap SLX RT66 rotors we tested the MT420s with were beginning to change colors after only two days of testing, so I don't think those are a viable option long-term. If you are riding the MT420 or a similar low-end brake and want to improve performance without getting new brakes, try one of Shimano's mid-tier rotors. Or a rotor from an aftermarket brand. Get the biggest size you can fit on your bike, and pair them with third-party metallic pads. Hopefully, that will give you a bit more bite and consistency.
Jonny's Bottom Line
| Strengths | Weaknesses |
|
|
A set of brakes I've been excited to try after countless parking lot tests as a mechanic in years past; I've always thought these have the potential to be great, and I think it still rings true. The lever feeling is super light and gives a rather firm stopping point without much wiggle past the bite point. This creates a nice and gentle lever throw that is "easy to modulate," but, in practice, proved to provide little power until the lever gets mashed past the bite point. I found myself riding pretty deep into the lever throw most of the time, which resulted in more hand fatigue and required pulling even harder to combat the inevitable fade that came with this braking style. I would be curious to try a third-party pad and rotor on these to see if a different material could potentially produce more friction and stopping power. It goes to show why the top-of-the-line brakes cost what they do, but it was rather impressive to feel perfectly confident dropping into any of the trails we rode throughout the week without any worries of actually being able to control speed. These brakes are more difficult to adjust, but they are certainly intended as more of a set-and-forget style brake anyway.
Hayes Dominion T4 Review
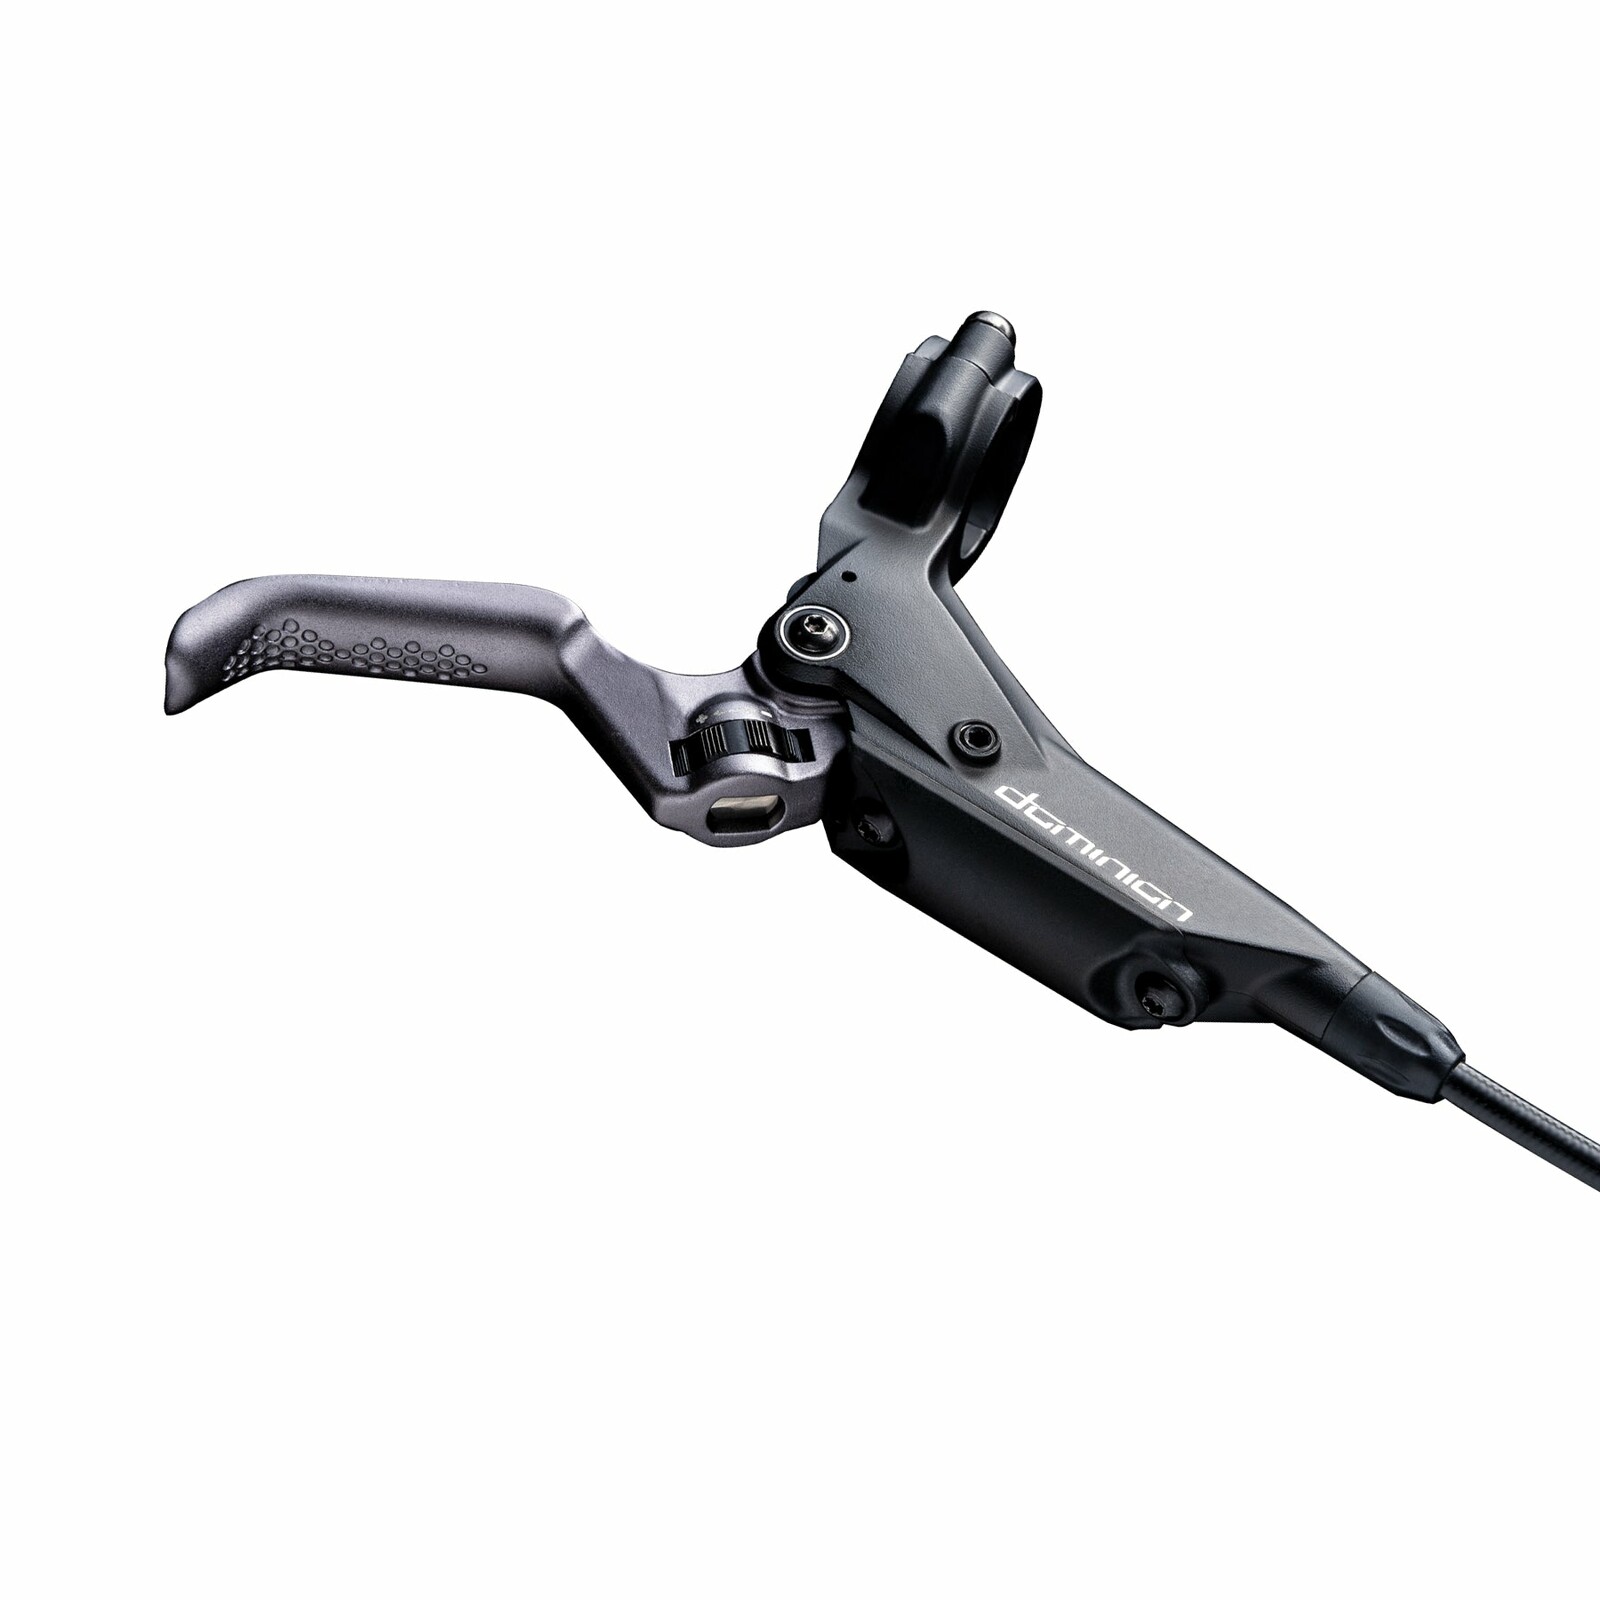
The Dominion T4 is the top-of-the-line, 4-piston brake from Hayes. The T4 annotation signifies its use of full titanium hardware. The lever assembly also gets a fancy Reynolds carbon lever blade and composite reservoir cover to finish off the T4 kit. The carbon lever blade does eliminate the tool-free lever reach adjustment found on the A4 model in favor of a tooled adjustment in its place and a bit of weight savings. Taking weight savings even further, additional machining has been done around the caliper to eliminate any excess material found on the standard A4 set.
The caliper still uses Hayes' Crosshair Alignment interface, which consists of a perpendicular set screw at each of the post-mount interfaces to help center the caliper and lock its position into place once centered. The pads are bottom-loading and use a standard spring and pin for retention. Our brakes came with a set of D-Series 1.95mm thick rotors which use the QuickBite² surface to create the most consistent braking interface possible and are designed with the MRC (Modal Resonance Cancelation) shape to eliminate any form of unwanted vibration.
Bleeding Procedure
The Hayes bleeding procedure is as traditional as it gets, with two syringes at either end of the line and no fancy fittings involved. Most brakes have two bleed ports at the lever for orientation at either side of the handlebar, but what sets the Dominions apart from most brakes is the secondary bleed port at the caliper. Hayes has allowed the caliper to be bled independently from the rest of the system to ensure the best possible chance of removing any air isolated around the pistons. Even with these additional measures in place, I still struggled to get these right on the first try, but some advice from a friend who has run them for years helped break down the process for me. I started by attaching both syringes with equal amounts of fluid to the caliper and began the usual pushing and pulling procedure to remove any air, then capped the outer port. I then attached the nearly empty syringe to the lever and backed off the pad contact adjustment entirely to open the reservoir as much as possible before pushing fluid from the caliper up to the top while flicking the lever. A few cycles back and forth later, I realized that pulling on the plungers to vacuum any air out of the system is actually problematic for introducing air as the bleed fittings do not use any o rings for an air-tight seal. After some pushing back and forth from each end, I removed and capped the lever port, followed by the caliper end. After dialing the pad contact back in fully, the lever produced a firm bite point with no squish at full compression, and the job was done.

Jason's Bottom Line
| Strengths | Weaknesses |
|
|
The Dominions have been high up on my need-to-ride list. I've heard lots of praise about their anchor-dropping power, and I've parking lot tested a few sets to know the light lever feel is unlike any other brake. Visually, they were one of my favorite brakes to look down at as the master cylinder is slender and compact. The two-bolt clamp is a bit of a throw-back (like the Magura MT7's), but they're easy enough to install. Hayes also offers shifter/dropper adaptors for nearly every popular design. Having a tooled reach adjustment and a carbon lever blade in place of the dial adjuster and alloy lever, like on the A4 model, was a bit of a head-scratcher. I definitely fiddle with my lever reach from ride to ride, usually as another way to keep the throw of my front and rear brakes similar. So, gaining a fancy lever but losing a useful feature was not in line with my utilitarian tendencies. I did mess with the pad contact adjustment and had a hard time noticing a significant change in lever throw. It reminded me of Shimano's Free Stroke adjustment, which also feels kind of useless.
The Dominions were damn powerful on the trail. Like the Mavens, they delivered instant stopping power that translated to less overall braking. I felt more at ease bombing down steep, committed trails, knowing I could shut it down at a moment's notice. The modulation of that power was also really impressive. Once the lever reached its bite point and braking was initiated, there was a lot of extra squeeze available. This kept me from panic braking or feeling like I had reef on the levers to slow down. It was neat to see the data back up these feelings, as the Dominions had the fewest # of braking events and the shortest total braking time but the second longest per-event time.
My biggest gripe with the Dominions that kept them from being my favorites was the light lever actuation, which created a dead space during the initial lever throw. There was so little lever resistance that power came on abruptly. I struggled to brake at smaller amounts on flatter trails or in loose, slippery conditions. I also had issues with accidental braking through compressions during my first run. I tend to run my levers so that just the tip of my finger hangs over. With the Dominions, the slight movement of my fingers as they rattled around led to a few sketchy, ghost-braking moments. I resorted to running the levers closer than usual to keep from pulling the levers on accident.
For how well the Dominions performed during all-out, aggressive braking moments, I'd love to spend more time on them at a bike park. Or on a bike and in a place where I'm regularly riding steep, techy trails. In less predictable conditions or on trails with less intense braking events and more speed-scrubbing moments, I think the Dominions require a bit more finesse to slow down without locking up the wheels. For those who like an on/off brake, the Dominion's are one of the best brakes out there—you get tons of power, a strong initial bite, lots of modulation once you're on the brakes, and a consistent lever feel throughout a run.
Jonny's Bottom Line
| Strengths | Weaknesses |
|
|
The Hayes Dominion was one of the more impressive brakes I rode for the ability to pair such a light feeling at the lever with a ton of stopping power almost anywhere. The majority of my ride time on these took place on the upper Garbanzo trails, and it was quite enjoyable because of their easy-to-modulate power delivery that helped tackle the slick and muddy slabs. Where I felt a drawback with the light feeling at the lever was in instances where an unexpected undulation would turn a slight bobble of the hand into a handful of front brake in some variable terrain. Similar to the Mavens, I think this would require a bit of an adjustment period and some recalibration of the hand to mitigate. I like the ability to adjust pad contact to keep the lever feeling as consistent as possible through the life of the pads but I found they really only felt good with the adjustment turned all the way in and would likely require a lever bleed as the pads wear to maintain a consistent feeling. Overall, I would be perfectly happy keeping these on my bike purely based on their performance.
Magura MT7 HC3 Review
The MT7 is Magura's flagship brake for everything from pedal-friendly trail bikes to purpose-built downhill race bikes. Most commonly seen on the World Cup circuit on the Specialized Gravity Racing and Cube Factory Racing bikes, the MT7 has remained unchanged since its inception. The special edition MT7 HC3 set of brakes we received for testing includes the HC3 lever blade, which brings some additional adjustability. These include a reach adjustment in the middle of the lever blade that changes its trajectory, and a pad contact adjustment near the hinge of the lever that changes the power delivery ratio of the brakes.
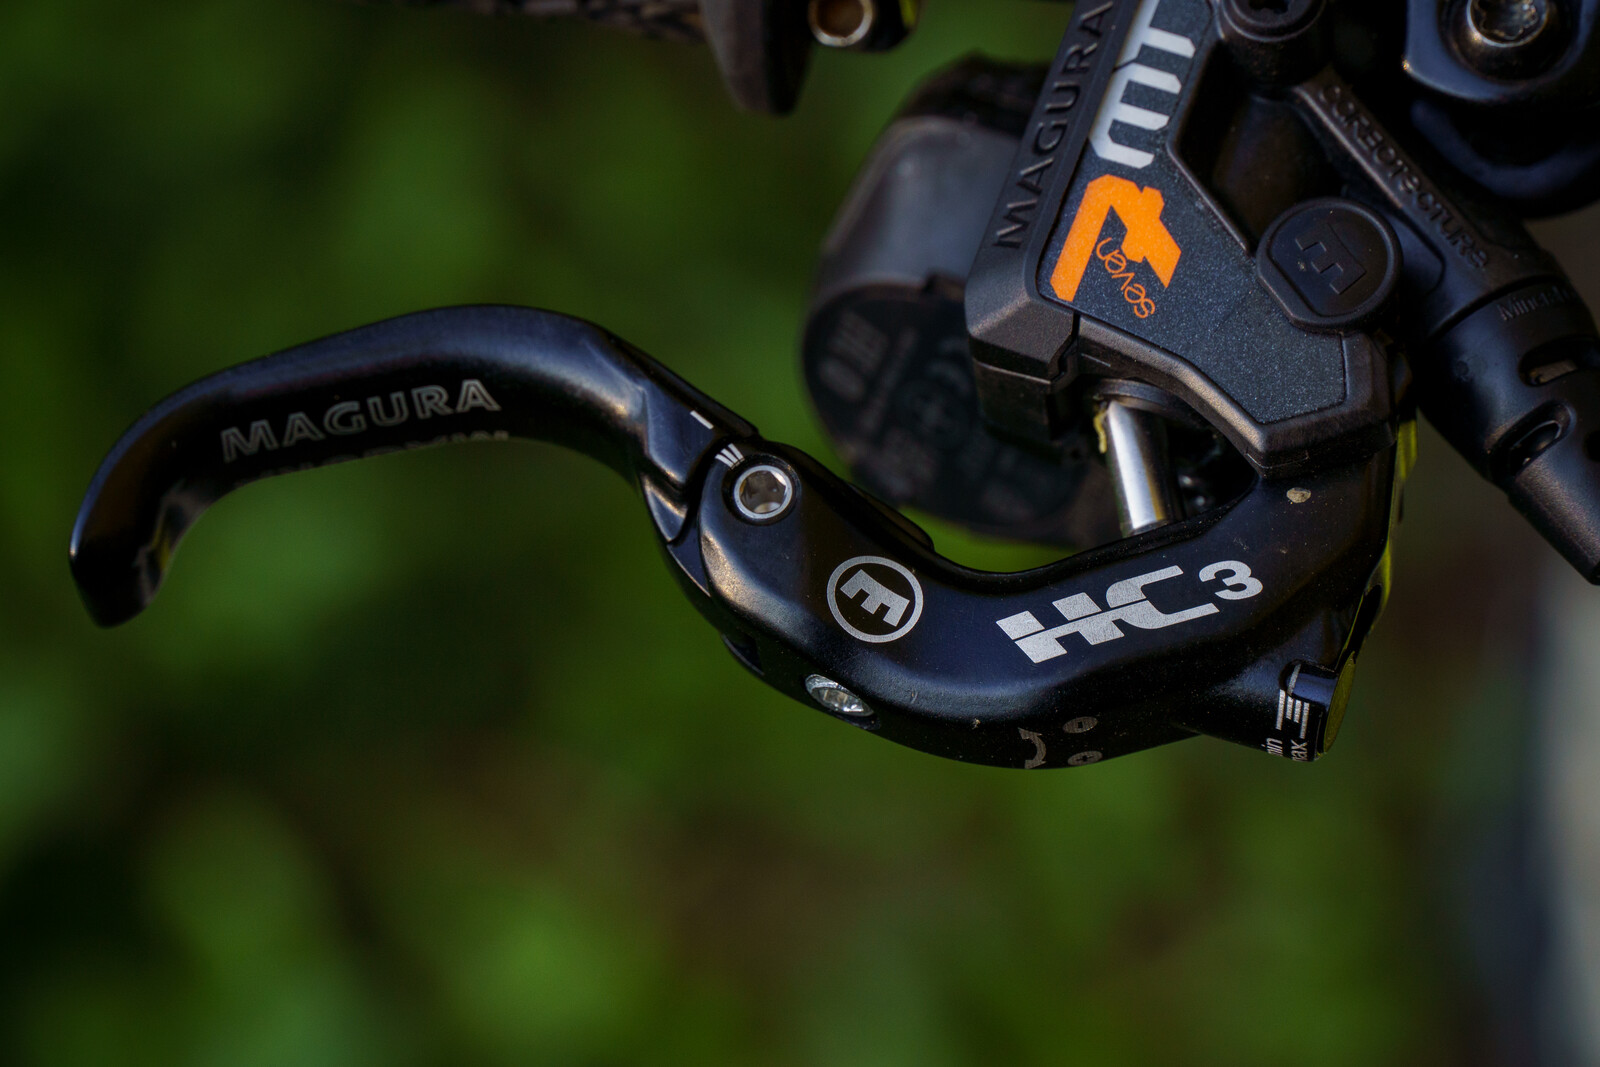
The lever body is made of what Magura calls a Carbotecture SL construction, a combination of polymers and embedded carbon fibers for the lowest possible weight. The bar mounting interface uses a two-bolt design with standard and traditional matchmaker clamp options. The 4-piston caliper is made of a single piece of forged aluminum to create the most rigid possible mounting interface, and the top-loading pads are held in place with magnets to eliminate the need for retention springs. Our brakes shipped with a set of MDR-C rotors, which utilize an additional inner ring in their design for increased stiffness and noise reduction.
Bleeding Procedure
Many mechanics, including myself, have struggled to get the bleed on Magura brakes right as it's not the most intuitive compared to other brakes. After reviewing the instruction manual and some videos online, I finally nailed it on my second try and have easily replicated the process. The bleed kit is a bit rudimentary; the provided hose slips onto the syringe with no mechanical way of securing it in place, and the other syringe presses directly into the lever and acts more as a cup for the procedure. Pulling the plunger of either syringe past the 30ml mark allows the plunger o-ring to pass a check valve, which relieves pressure; this is step one for prepping the lever syringe. Next, the caliper syringe is filled and threads in with wrench flats to secure it in place. Using a wrench to fully seat the hose fitting was critical. Then, fluid is pushed up and pulled back down through the caliper syringe, with the lever-mounted syringe not being used to push or pull fluid during the process. I repeated this process back and forth a few times until bubbles were no longer produced at either syringe, and that was it. When done correctly, the procedure is very simple and has been easy to get right since. However, the rather basic kit supplied is prone to hoses slipping off and requires additional attention; this was the only real drawback of the bleeding procedure.

Jason's Bottom Line
| Strengths | Weaknesses |
|
|
The MT7s are a unique-looking brake—the caliper is a force to be reckoned with, and the master cylinder reminds me of the old Shimano Saint design. They don't have the now-familiar parallel-to-the-bar look I've become accustomed to. To each their own, but it took a minute to enjoy the aesthetics of the MT7s. And at $660 bucks, I care about looks.
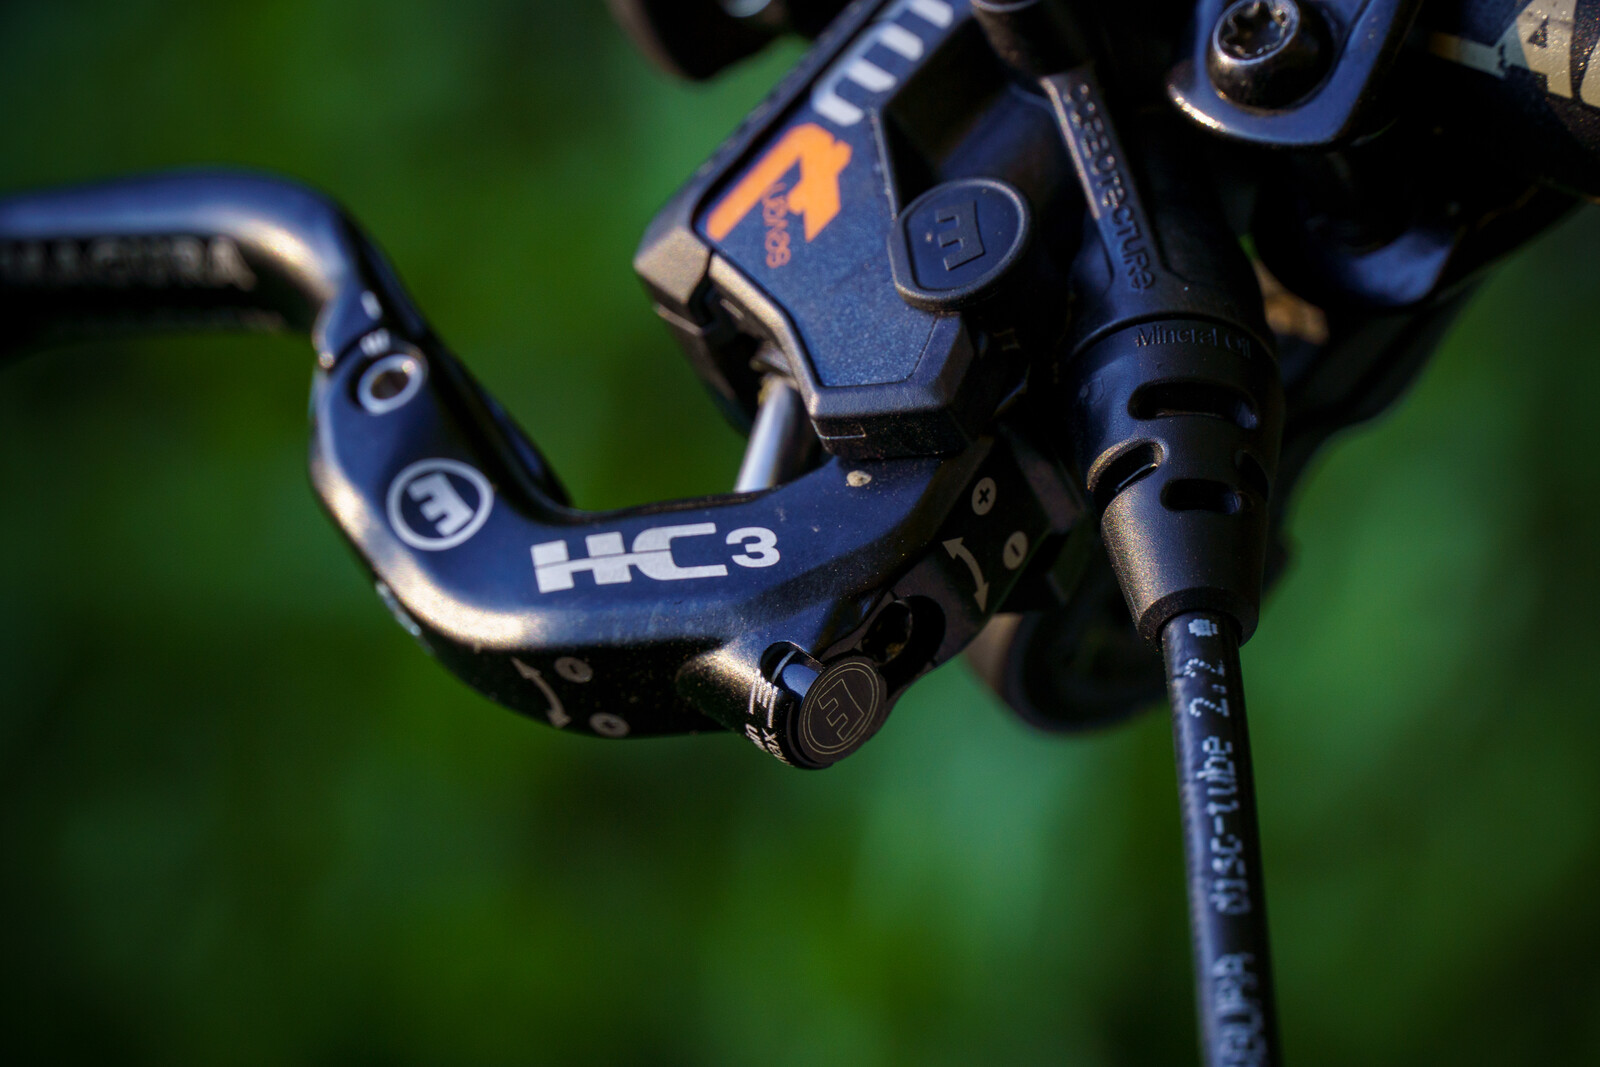
Despite having tooled reach and pad contact adjustments, both were impactful and user-friendly. I loved the added hash marks on both, as I could visualize the changes I was making. A T25 handles most of the setup process, including caliper bolts, handlebar mounts, and pad contact. An easy-to-reach 3mm screw handles lever reach. I spent more time tweaking the HC3 levers because the two adjustments significantly affected the lever feel. The contact adjustment was reallysensitive as it actually changes the leverage the lever has on the push rod. You can make the brakes feel as touchy or soft as you like, and getting both brakes to hit at the same spot is easily achieved. The shape of the lever also felt similar to XTR. My fingers curled over the edge of the lever, and my hand was in a tighter fist.
The MT7s rose above the other brakes due to their massive range of usable power. Whether I was scrubbing speed through roots and rock slabs or braking hard down steep rock rolls, I had no issue rolling on the power without locking up the wheels. The power profile felt linear for the first half of lever movement and then ramped up quickly. This allowed for really precise braking in technical, mixed conditions, matched with an intense max-stopping power when needed. The only thing I think riders may dislike about the MT7s is the power is not super immediate. Like XTRs or Codes, you have to pull the lever harder to build power. But the build in stopping force was my favorite characteristic as it resulted in the best modulation.

My data illustrated the MT7's high degree of modulation—I had the second-fewest # of brake events but the longest average event time. Many of my brake events were linked together, whereas with other brakes, I would completely let off the brakes. This resulted in a higher total brake time than Maven, Dominion, and XTR. Even though I was dragging my brakes more with the MT7s, I'm okay with giving up some speed in exchange for control. The MT7s also tied the XTRs for the most evenly biased brakes at 57% rear and 43% front. Because I could control the power so precisely, I had the freedom to apply both brakes with intention.
I left Whistler with the MT7s still on my bike. To be fair, I would have been happy leaving with any of the brakes on my bike. Well, except for the cheap Shimano's. What set the MT7s apart was the adjustability of the HC3 lever and the controllable power profile. While they are my favorite brakes currently, I'm already planning to place them against other brakes not included in this test to see how they compare.
Jonny's Bottom Line
| Strengths | Weaknesses |
|
|
Taking the top step for my personal scoring, the MT7 surprised me more than anything. Having never successfully bled a set of Magura brakes without multiple attempts, I was thrilled to finally get it down. The brakes felt incredible once setup on my bike. Still, I had my doubts and was curious if that feeling would translate on trail, but it certainly did. The lever feeling has what feels like the ideal level of resistance that results in a snappy return that feels equivalent to the force required to depress the lever. Power delivery felt like a direct translation of what was happening at the lever and made braking very intuitive in every circumstance we tested them in. I noticed very little brake fade, if any, towards the end of the runs and never felt like I had to change my braking habits to combat it. What stood out most was the consistency of these brakes; the lever feel never changed, even in the most extreme of instances, and I was blown away at how precise the modulation was for the range of power provided. I wouldn't say I like the two-bolt clamping interface, but I am absolutely willing to overlook it and still have these brakes mounted to my bike today.
Overall Scores


A big shout out to Feedback Sports, and Ride Wrap for supporting Test Sessions!
















View replies to: 6 Mountain Bike Brakes Tested With Data - Vital Test Sessions
Comments