RideWrap has been making frame protection kits since 2018 with the mission to keep bikes looking their best no matter what gets thrown at them. They offer everything from protection against regular wear and tear to their precision cut kits for specific frame models with minimal gaps between seams. Getting a fresh new Canyon Sender early in the season, I wanted to ensure the gloss white paint stayed that way when I brought it to Whistler and put it through some of the harshest conditions. RideWrap is based in Whistler, so they know a thing or two about making products to survive serious bike abuse. With a summer full of traveling and riding ahead, plus a trip to Crankworx, a protection kit seemed like a good idea for the peace of mind to keep my bike in pristine shape.
RideWrap kits are made of a self-healing material that is hydrophobic and offered in three different levels of protection: Essential Protection, Covered Protection, and Tailored Protection. For protection against basic wear and tear, the Essential Protection kit is made up of a few large film pieces with cut-to-fit sections that can be placed where it is needed, covering about 30% of the frame. The Covered Protection kit protects against more irregular forms of wear such as bike locks, transport, and unexpected crashes. It covers about 60% of the frame. For the highest level of protection, the Tailored Protection kit is armor against any possible scenario that could damage a frame. With precise seams between all pieces and an exact fit for specific bike models and frame sizes, this kit covers about 95% of the frame. With a summer full of downhill bike laps planned, I went with the Tailored Protection kit to keep the high-gloss finish on my bike from fading and losing its shine. RideWrap offers their kits in either a matte or gloss finish to help maintain or transform the look of your bike. I stuck with the gloss finish.


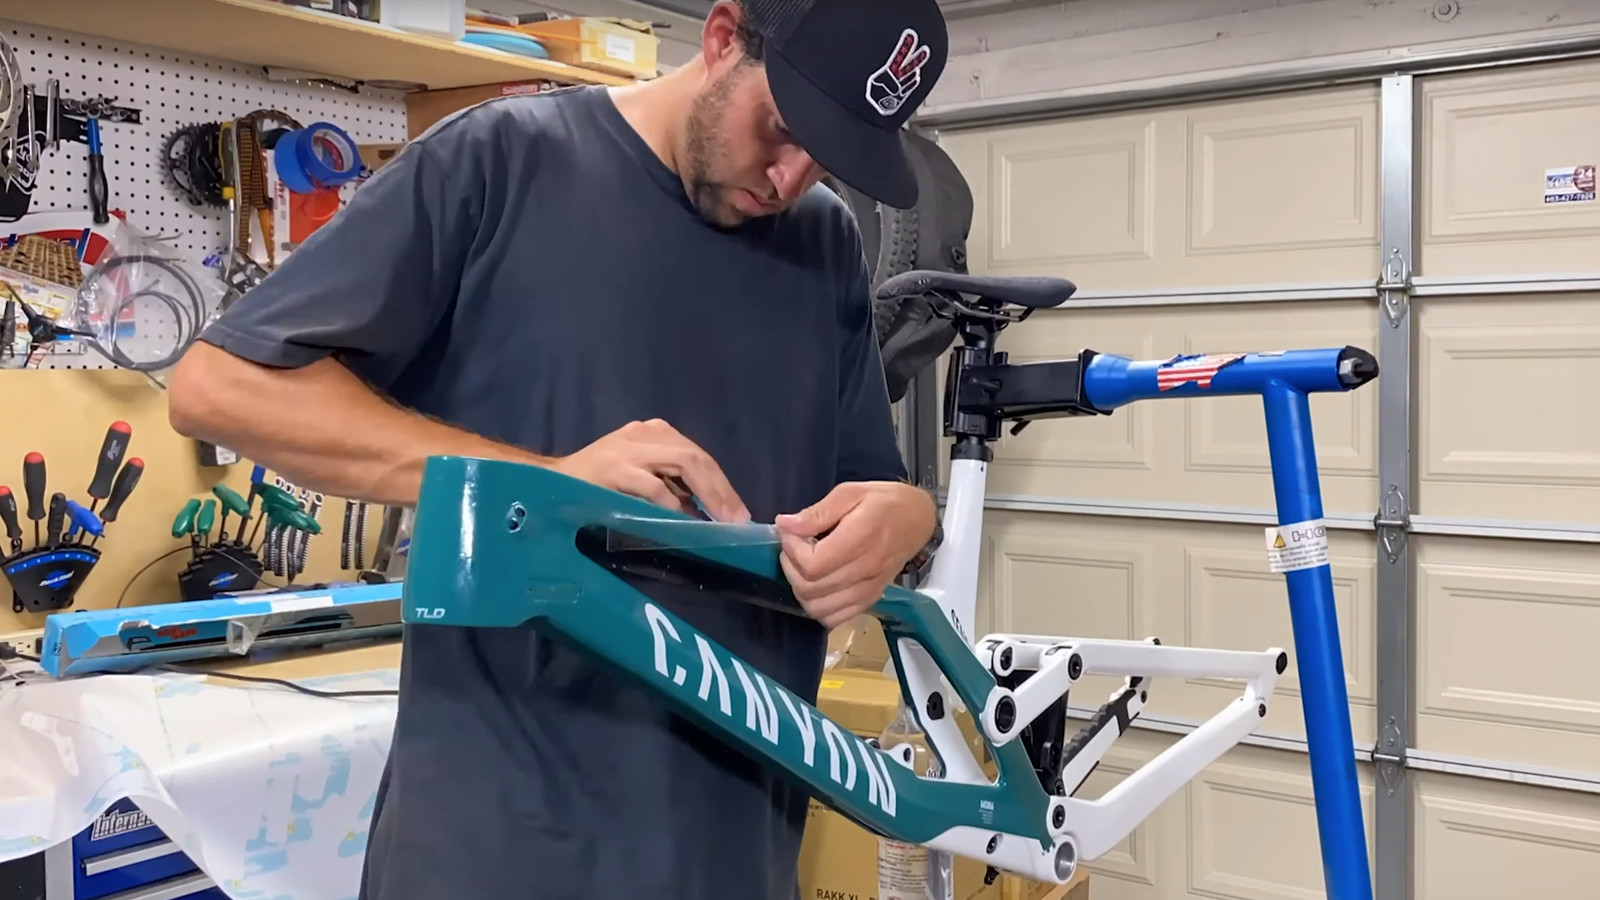
Everything needed is in the box to ensure a bubble-free and smooth installation. Cleaning wipes, microfiber towels, soapy water solutions, and a squeegee are included. Unraveling the roll of film, the attention to detail is impressive. My kit contained 21 pieces that fit together with barely a few millimeters between sections. Installation of the Tailored Protection kit requires a bit of patience and a lot of fine adjustments, but the end result is nearly invisible seams that require a close eye to find.

If patience isn't your thing, RideWrap can install your kit for you at one of their three locations in Whistler, BC, Golden, CO, and now Santa Cruz, CA. If your frame is not on the list for a Tailored Protection level kit, a request can be submitted for one to be created, or frames can be sent to the RideWrap headquarters in Whistler for measurement, and a protection kit will be made to fit.


Installation
- Wash the bike. In my case, the bike was new out of the box.
- Remove the wheels along with any bolt-on frame protection or cable guides. I opted to tear the bike down fully to give myself as much room as possible, but this is not necessary.
- Use the RideWrap pre-install cleaning wipes to remove any residue, oils, grease, dirt, or watermarks from washing that may be on the frame.
- Mix the slip solution in a spray bottle with water and one to four drops of the solution provided. Some kits require more or less; refer to the guide on the RideWrap website.
- Use the provided bike diagram to figure out where each piece should be placed. The pieces are numbered in the suggested installation order.
-
Use the spray bottle to wet both the frame and the protection piece with slip solution. The more spray used, the easier it will be to position each protection piece.
-
Curves, cable holes, and defining frame features will help line up each of the protection pieces. Once a few pieces are lined up, aim to have 3mm of gaps between each piece for the best possible finish. Additional slip solution can be used to re-set pieces.
-
Lock pieces into place using the squeegee to push any bubbles out toward the edges starting from the middle of each piece.
-
Use the microfiber towel to pull moisture out from the edges to increase adhesion. This will help the edges stick.
-
For especially difficult pieces, light heat can be used to help stick down edges by drying out the slip solution. Be sure not to use too much heat as it can melt or damage the protection film.
-
Take a close look at all the edges and corners to make sure everything is stuck down and there are no air bubbles left over.
-
Get out and ride!

My Experience
With the frame fully wrapped in protection, I was ready for a summer full of slinging rocks, dirt, and trail-side brush at my new bike. The weather at Crankworx last summer threw a bit of everything at me, and the maiden voyage for my brand-new bike involved multiple flights in a bike box, hours of laps in the pouring rain, and a flight home covered in dirt. While I felt sorry for the frame bearings, not having to worry about the paint being rubbed by muddy pant legs or abusive baggage handlers was a welcomed change. Inspection of the frame after the trip revealed nothing more than some very minor scuffing along the sharpest edge of the top tube, with the rest of the frame looking as shiny as the day it came out of the box. Each time I've wiped down the frame since then, the results have remained consistent. There are plenty of frame protection kits on the market that offer adequate protection, but few are as discrete as the RideWrap Tailored Protection kit while offering the same level of coverage.

For more information or to order a kit for yourself, please visit ridewrap.com
View key specs, compare frame protection options, and review RideWrap in the Product section.
1/8/2024 10:58am


View replies to: Installing and Shredding the RideWrap Tailored Protection Kit
Comments